Pavers in Weston, MA

Beautiful, Long-Lasting Pavers

Get professional paver installation with the right base and drainage, so your patio or driveway keeps looking great for decades to come.

A scenic suburban house surrounded by lush greenery, featuring a curved driveway in the foreground. The property has manicured lawns, shrubs, and trees. The house exterior is grayish with multiple gables and large windows, showcasing a well-maintained residential landscape.
A construction worker wearing a gray shirt and blue overalls stacks concrete blocks in a step-like formation. The worker is wearing protective gloves. In the background, additional stacked bricks and a partially visible stone wall can be seen. The image highlights careful masonry work and organization of materials at a construction site.

Paver Installation Weston, MA

Outdoor Spaces Made for Living

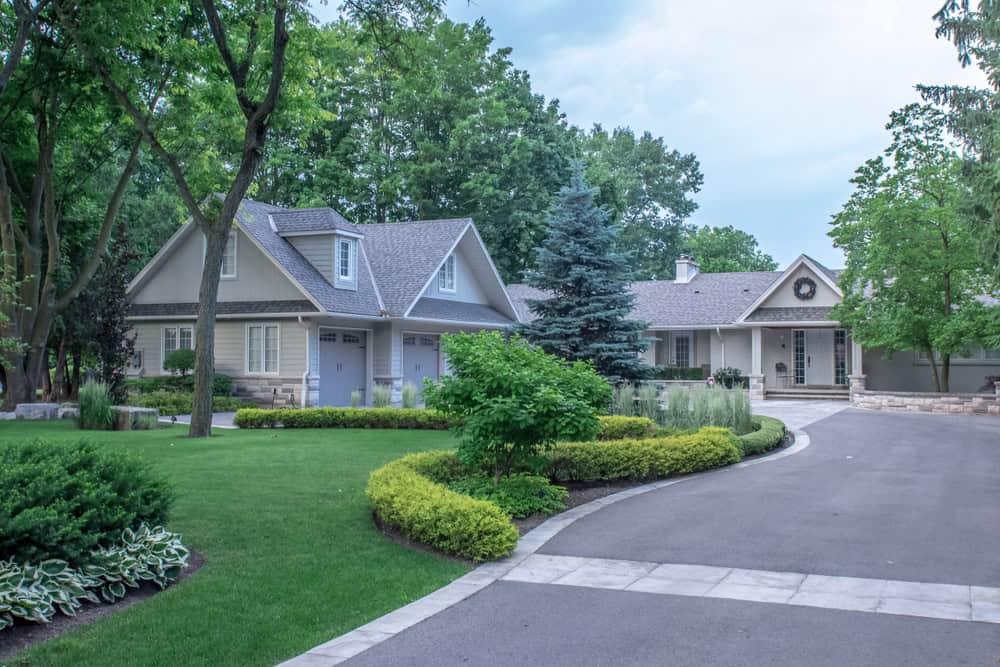
Your backyard becomes the place everyone wants to gather. No more avoiding that cracked concrete patio or dealing with muddy grass when you want to entertain.

Proper paver installation handles New England’s weather without ease. No cracking like concrete. No constant sealing like wood decks. Just a solid surface that looks great year after year.

You get the kind of curb appeal that adds real value to your Weston property. Clean lines, quality pavers, and an installation that won’t have the neighbors whispering about crooked edges or sinking spots.

Paving Contractors in Weston, MA

We Know How to Build for Weston Properties

Academy Masonry has been handling paving installations throughout Weston and the surrounding area for years. We understand the region’s soil conditions, the local regulations, and what it takes to build something that can withstand the harsh climate.

You won’t find us cutting corners on base preparation or using subpar materials. We work with homeowners who want quality and aren’t interested in redoing their outdoor spaces in five years.

Our team of professionally trained, highly skilled paving contractors knows the difference between a quick installation and a proper one. That’s why our projects hold up while others start sinking or shifting after the first winter.

A neatly arranged driveway made of grey pavers, featuring a central strip filled with white gravel and lined with green shrubs. Modern lamp posts are evenly spaced along the strip, guiding the way to a white garage door. The image highlights elegant landscaping design and careful paving work in a residential setting.

Our Proven Paving Installation Process

How We Install Pavers Right

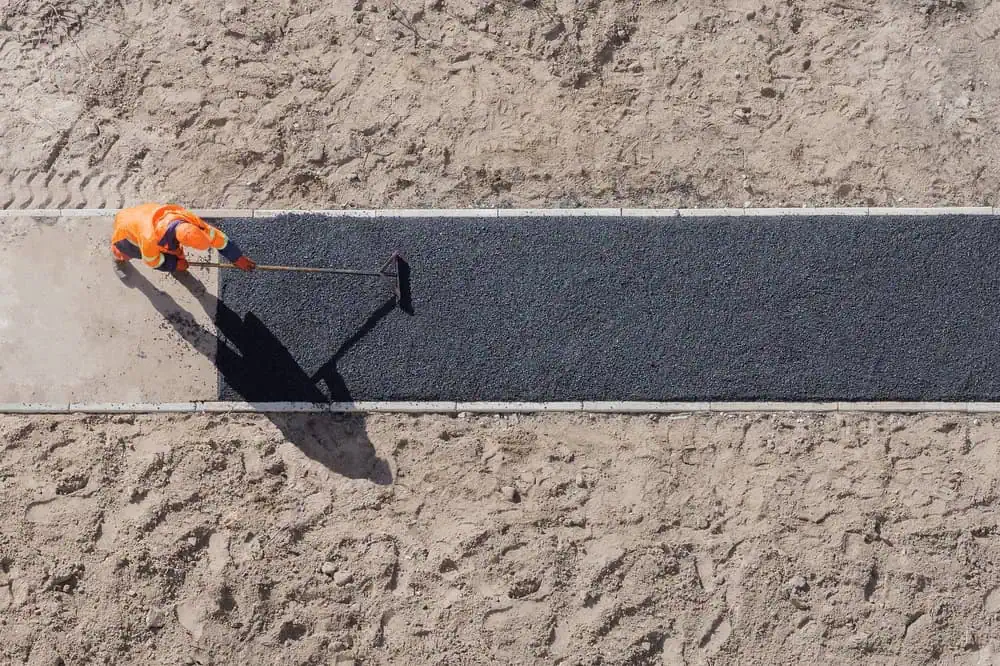
First, we excavate to the proper depth and grade for drainage. This step is non-negotiable because without proper base preparation, even the best pavers will fail. We remove all organic material and create the right slope so water moves away from your foundation.

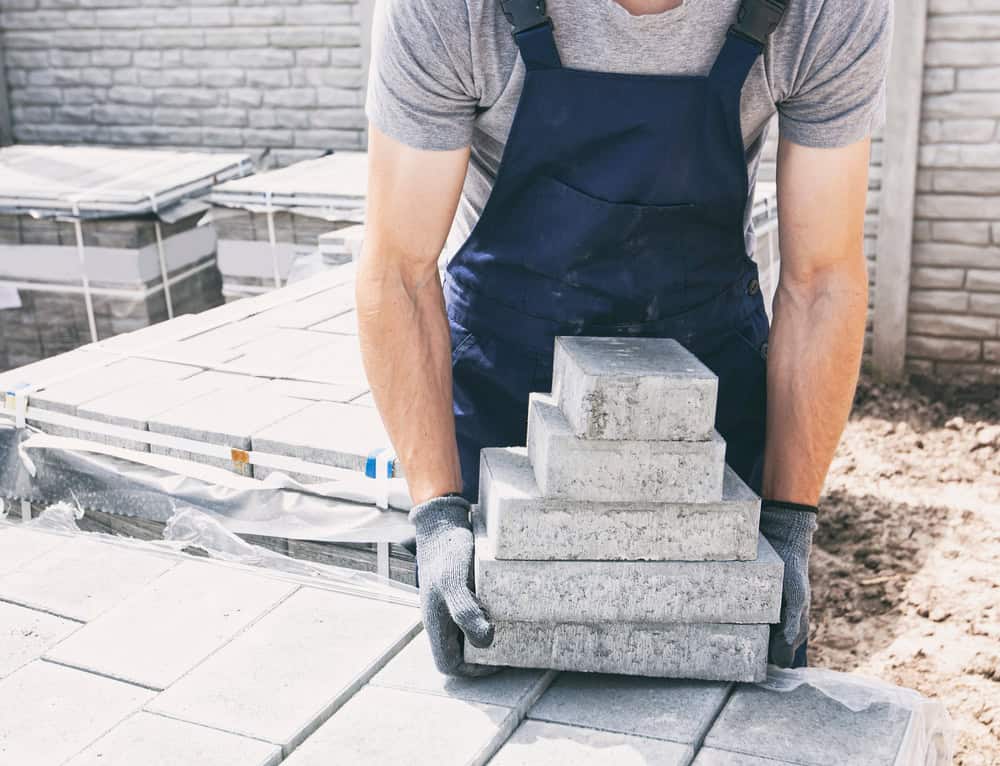
Next comes the base layer. We use crushed stone, compact it in lifts, and check for proper grade at every step. Then we lay the sand leveling layer and set each paver by hand, double-checking the alignment as we go.

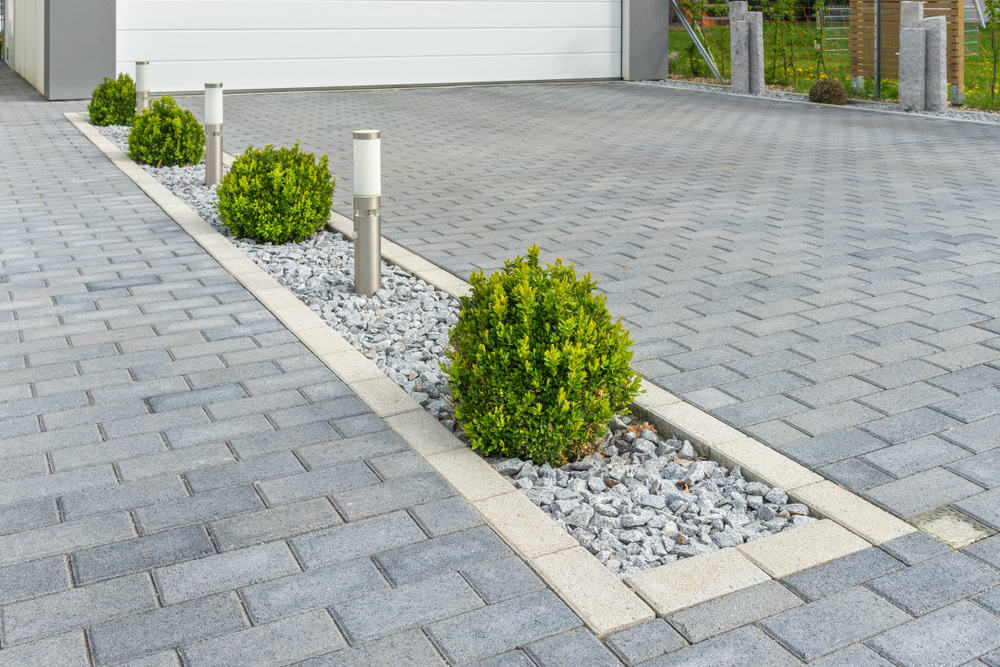
Finally, we sweep polymeric sand into the joints and compact the entire surface. This step locks everything together and prevents weeds from growing between pavers. The result is a surface that stays level and looks professional for decades.

A worker in an orange safety uniform is spreading asphalt on a path in a sandy area. They are using a tool to smooth the surface, with clear, defined borders of the freshly laid asphalt. Shadows fall across the path under the sunlight.

Ready to get started?

Explore More Services

About Academy Masonry and Construction

Get a Free Consultation

Patio Pavers in Weston, MA

What Your Paving Installation Project Includes

Every paver installation starts with proper site preparation and drainage planning. Our brick pation contractors handle all excavation, base preparation, and grading to ensure your pavers stay level and drain properly.

You get professional installation using manufacturer-approved methods. We work with premium paver brands and follow their specifications exactly. No shortcuts that void warranties or cause problems later.

We also handle the details that matter, such as working around existing landscaping, coordinating with any HOA requirements, and ensuring the finished project matches your property’s standards. We keep the job site clean and provide clear communication throughout the entire process.

A construction worker wearing a gray shirt and blue overalls stacks concrete blocks in a step-like formation. The worker is wearing protective gloves. In the background, additional stacked bricks and a partially visible stone wall can be seen. The image highlights careful masonry work and organization of materials at a construction site.
Properly installed pavers can last 25-30 years or more with minimal maintenance. The key is in the base preparation and drainage, which is where most installations fail. We excavate to the right depth, use proper base materials, and ensure water drains away from the paved area. With good base work, the pavers themselves are incredibly durable. You might need to occasionally replace a damaged paver or refresh the joint sand, but the overall installation should stay solid for decades. Compare that to concrete, which typically starts cracking within 5-10 years in our climate.
The difference is almost entirely in what you can’t see—the base preparation. Cheap installations skip steps like proper excavation depth, adequate base stone, or proper compaction. They might look fine initially, but within 1-2 years settling, shifting, or drainage problems are bound to occur. Quality installation means excavating to the right depth (usually 8-12 inches depending on the application), using proper base materials, compacting in lifts, and ensuring correct drainage slopes. It takes longer and costs more upfront, but it’s the difference between a patio that lasts 3 years and one that lasts 30 years.
Yes, pavers actually handle winter conditions better than concrete or asphalt when installed properly. Individual patio pavers can expand and contract with freeze-thaw cycles without cracking like concrete does. For snow removal, you can use standard snow blowers and plows, though we recommend setting plow blades slightly higher than you would on asphalt to avoid catching paver edges. If your installing a driveway, proper base preparation and using quality pavers rated for vehicular traffic are the keys to success. Salt and ice melt products won’t damage durably constructed pavers the way they can damage concrete surfaces.
Most paver patios in Weston range from $15-$30 per square foot installed, depending on the patio paver type, site conditions, and complexity of the design. A typical 400-square-foot patio costs $6,000-$12,000. The final price depends on things like how much excavation is needed, drainage solutions, your paver choice, and how easy it is to access the site. We give you a clear, detailed estimate so you know exactly where every dollar goes. Remember—paying a little more upfront for quality paving installation and proper base work means you won’t be stuck paying for repairs or replacements down the road.
Sometimes, yes—but it really depends on the condition of your existing concrete and how well it drains. If the concrete is level, solid, and drains properly, we can lay pavers over it with a sand leveling layer. But if it’s cracked, sinking, or has drainage issues, it’s smarter to remove it and build a proper base. Installing pavers over poor-quality concrete just passes those problems along to your new surface. We’ll check your current concrete and recommend what makes the most sense. Sometimes an overlay works well and saves money, but other times full excavation is the only way to guarantee long-lasting results.
Pavers are relatively low maintenance compared to other patio materials. Annual maintenance typically involves sweeping and occasional power washing to remove dirt and organic stains. Every 2-3 years, you might need to refresh the polymeric sand in the joints, especially in high-traffic areas. If individual pavers get damaged or stained, they can be removed and replaced without affecting the rest of the installation. Sealing is optional—it enhances color and provides some stain protection, but quality pavers don’t require sealing for durability. The main thing is keeping the surface clean and addressing any minor settling or sand loss promptly before it becomes a bigger issue.