Pavers in Townsend, MA

Beautiful Pavers That Actually Last

Professional paving installation designed for New England weather and your peace of mind.

A scenic suburban house surrounded by lush greenery, featuring a curved driveway in the foreground. The property has manicured lawns, shrubs, and trees. The house exterior is grayish with multiple gables and large windows, showcasing a well-maintained residential landscape.
A construction worker wearing a gray shirt and blue overalls stacks concrete blocks in a step-like formation. The worker is wearing protective gloves. In the background, additional stacked bricks and a partially visible stone wall can be seen. The image highlights careful masonry work and organization of materials at a construction site.

Patio Pavers Townsend MA

Outdoor Spaces You'll Actually Use

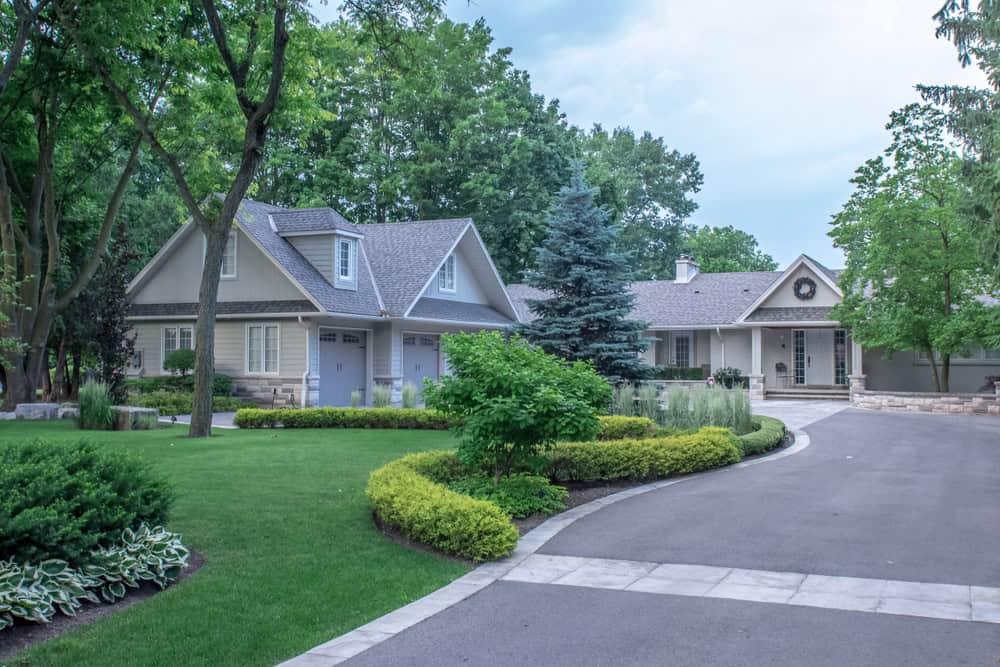
Your backyard becomes the place everyone wants to gather. No more avoiding that cracked concrete patio or dealing with puddles after every storm.

Quality paver installation means level surfaces that stay level. Proper drainage that actually works. Materials that handle our freeze-thaw cycles without cracking or shifting.

You get an outdoor space that looks great year after year. No constant repairs or embarrassing explanations to guests about “that one sunken section.”

Townsend Paving Contractors

We Know Townsend's Ground

Academy Masonry has been handling paving installation in Townsend and surrounding areas for years. We understand local soil conditions, drainage challenges, and what materials actually hold up here.

You’re not getting a crew that learned about New England weather from a manual. Our team has seen what works and what fails when the ground freezes and thaws.

We’re licensed, insured, and local. When you need us, we’re here.

A neatly arranged driveway made of grey pavers, featuring a central strip filled with white gravel and lined with green shrubs. Modern lamp posts are evenly spaced along the strip, guiding the way to a white garage door. The image highlights elegant landscaping design and careful paving work in a residential setting.

Paving Installation Process

How We Build Pavers Right

First, we assess your site and discuss your vision. No pressure, just straight talk about what’s possible within your budget and timeline.

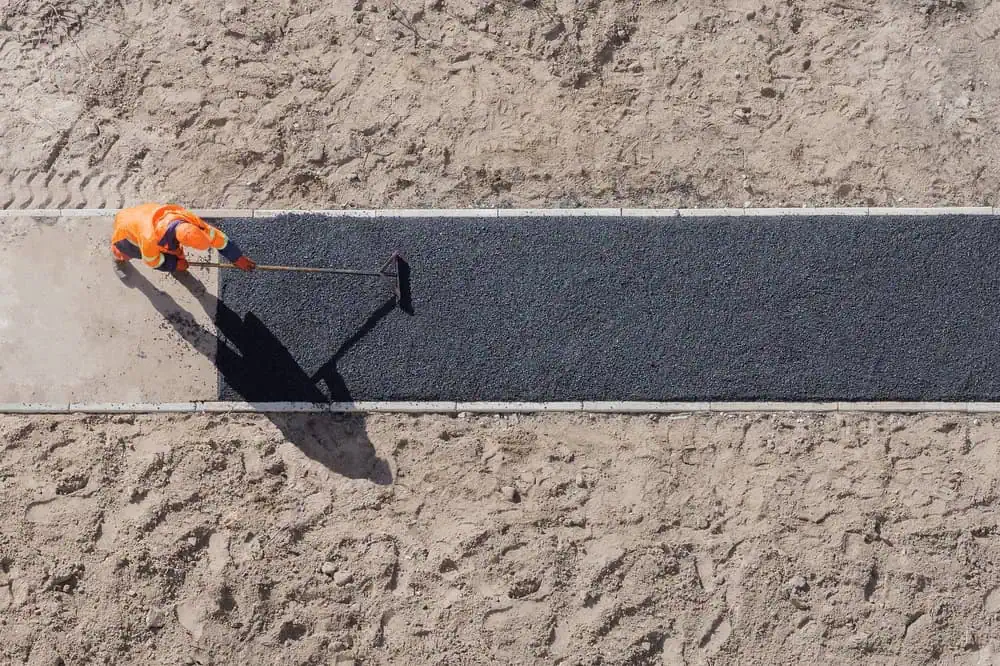
Next comes proper excavation and base preparation. This is where most contractors cut corners, and it’s where most paver projects fail. We dig to proper depth, install the right base materials, and ensure proper drainage slope.

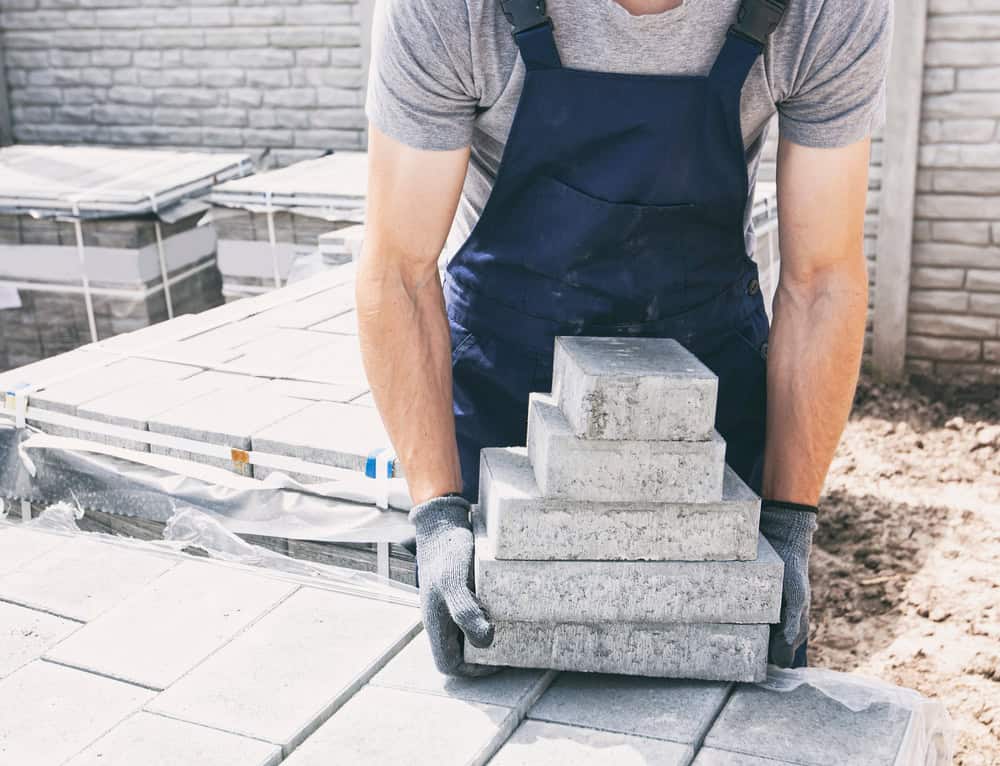
Then we install your pavers with precision. Every piece level, every joint consistent, every edge secured. We finish with quality jointing sand and sealing when appropriate.

You get a final walkthrough where we explain maintenance and answer any questions. Simple as that.

A worker in an orange safety uniform is spreading asphalt on a path in a sandy area. They are using a tool to smooth the surface, with clear, defined borders of the freshly laid asphalt. Shadows fall across the path under the sunlight.

Ready to get started?

Explore More Services

About Academy Masonry and Construction

Get a Free Consultation

Brick Paving Services

What Your Project Includes

Every paving installation includes proper site preparation, quality base materials, and professional installation. We handle permits when required and work around your schedule.

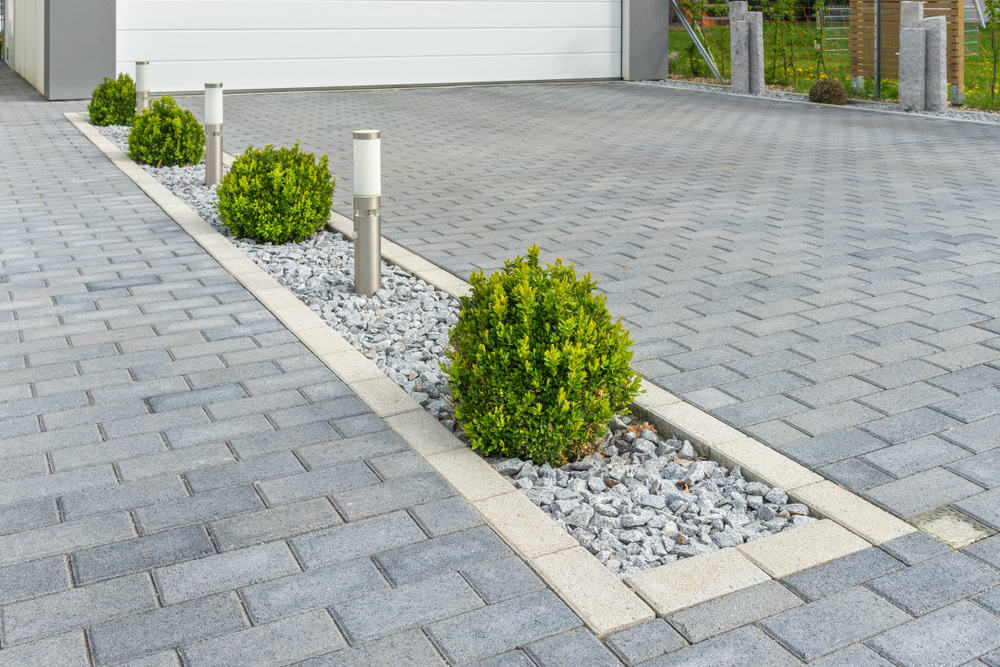
You’ll see options for different paver materials, colors, and patterns that fit your home’s style and your budget. We source from reliable suppliers and stand behind our material choices.

Townsend’s clay soil and seasonal weather patterns require specific installation techniques. We adjust our approach based on your property’s unique conditions, ensuring your pavers perform well long-term.

A construction worker wearing a gray shirt and blue overalls stacks concrete blocks in a step-like formation. The worker is wearing protective gloves. In the background, additional stacked bricks and a partially visible stone wall can be seen. The image highlights careful masonry work and organization of materials at a construction site.
Quality pavers typically last 25-30 years or more with minimal maintenance, while concrete often cracks within 5-10 years in our climate. Pavers handle freeze-thaw cycles better because individual pieces can move slightly without cracking the entire surface. If a paver does get damaged, you can replace individual pieces rather than tearing up the whole area. Asphalt needs regular sealing and eventually complete replacement, usually within 15-20 years. The upfront investment in pavers pays off through longevity and lower maintenance costs.
The base preparation makes or breaks any paver project. Quality installation means proper excavation depth, compacted gravel base, and correct drainage slope. Cheap jobs skip these steps, leading to sinking, shifting, and water problems within a few years. Quality contractors also use proper edge restraints to prevent pavers from spreading apart over time. The paver material itself matters too – thicker pavers and quality manufacturing resist cracking and fading. You might save money upfront with a cheap job, but you’ll pay more in repairs and eventual replacement.
Proper drainage starts with site grading and base preparation. We create the right slope to direct water away from your home and prevent pooling on the paver surface. The base layer includes proper drainage materials that allow water to flow through rather than sitting underneath the pavers. We also install edge drains when needed and can incorporate permeable pavers in areas where water infiltration is beneficial. Poor drainage is the number one cause of paver failure, so we take this seriously from the design phase through installation.
Sometimes, but it depends on the condition of the existing surface and proper preparation. The existing surface must be stable, level, and well-draining. We typically need to add a leveling layer and ensure proper drainage, which can raise the final height significantly. In many cases, complete removal and proper base installation gives better long-term results. We’ll assess your specific situation and recommend the approach that makes the most sense for your budget and expectations. Shortcuts here often lead to problems later, so we’re honest about when overlay installation is appropriate.
Pavers need minimal maintenance compared to other surfaces. Occasional sweeping and rinsing keeps them looking good. You’ll need to replenish jointing sand every few years as it naturally washes away. Sealing is optional but can enhance color and make cleaning easier – typically every 3-5 years if you choose to seal. Weeds can grow in joints if you don’t maintain the sand, but this is easily prevented. Individual pavers can be replaced if damaged, and the surface can be releveled if minor settling occurs. Overall, it’s much less maintenance than concrete sealing or asphalt resealing.
Costs vary based on area size, paver choice, site conditions, and project complexity. Basic patio pavers typically start around $15-20 per square foot installed, while premium materials and complex patterns can reach $25-35 per square foot. Driveway installations cost more due to thicker base requirements and heavier-duty pavers. Site preparation challenges like poor drainage or difficult access affect pricing. We provide detailed written estimates that break down materials, labor, and any additional work needed. The investment is higher than basic concrete but lower than natural stone, with better longevity than either option.