Pavers in Pepperell, MA

Outdoor Spaces Built to Last Decades

Professional paver installation that handles New England weather without cracking, shifting, or settling over time.

A scenic suburban house surrounded by lush greenery, featuring a curved driveway in the foreground. The property has manicured lawns, shrubs, and trees. The house exterior is grayish with multiple gables and large windows, showcasing a well-maintained residential landscape.
A construction worker wearing a gray shirt and blue overalls stacks concrete blocks in a step-like formation. The worker is wearing protective gloves. In the background, additional stacked bricks and a partially visible stone wall can be seen. The image highlights careful masonry work and organization of materials at a construction site.

Professional Paving Installation Services

Transform Your Property Value and Lifestyle

You want an outdoor space that actually gets used. Not just something that looks good for the first season, then starts cracking or sinking by year two.

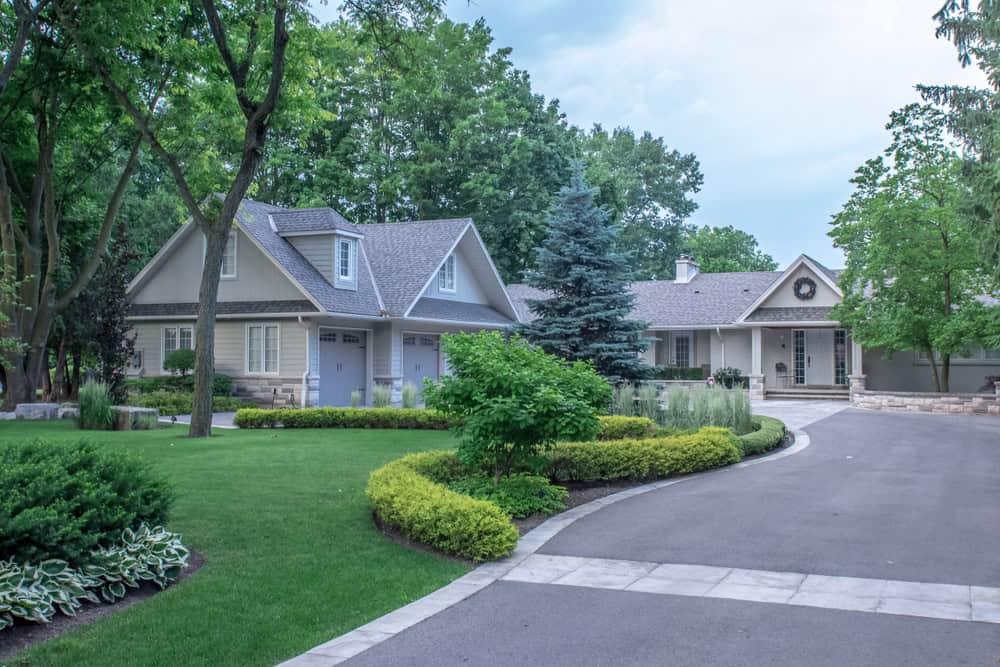
When pavers are installed correctly, you get decades of beautiful, functional space. Your patio becomes the place where family dinners happen. Your driveway stops being an embarrassment and starts adding real value to your home.

The difference is in the foundation work and understanding how materials behave through Massachusetts freeze-thaw cycles. Most contractors skip the details that matter long-term. We don’t.

Pepperell Paving Contractors

Masonry Expertise You Can Count On

We at Academy Masonry have been serving Pepperell and surrounding Massachusetts communities with professional hardscaping services. We understand local soil conditions, drainage requirements, and building codes that affect paver installations.

Our team focuses on the technical details that prevent common problems like settling, shifting, and drainage issues. We’ve seen too many beautiful paver projects fail because corners were cut during installation.

Every project gets the same attention to proper base preparation, drainage solutions, and material selection that ensures your investment lasts.

A neatly arranged driveway made of grey pavers, featuring a central strip filled with white gravel and lined with green shrubs. Modern lamp posts are evenly spaced along the strip, guiding the way to a white garage door. The image highlights elegant landscaping design and careful paving work in a residential setting.

Paver Installation Process

How We Build Pavers Right

First, we evaluate your site conditions, drainage needs, and design goals. This isn’t just measuring – we’re looking at soil composition, water flow patterns, and how the finished project integrates with your existing landscape.

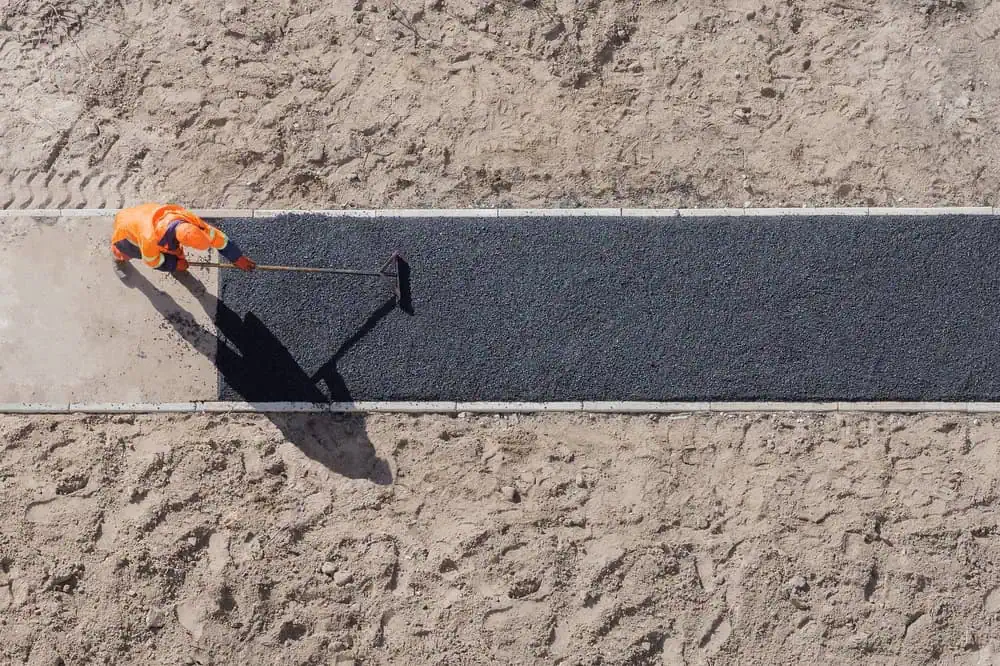
Next comes proper excavation and base preparation. This is where most problems start if done incorrectly. We excavate to proper depth, install appropriate base materials, and ensure proper compaction and grading for long-term stability.

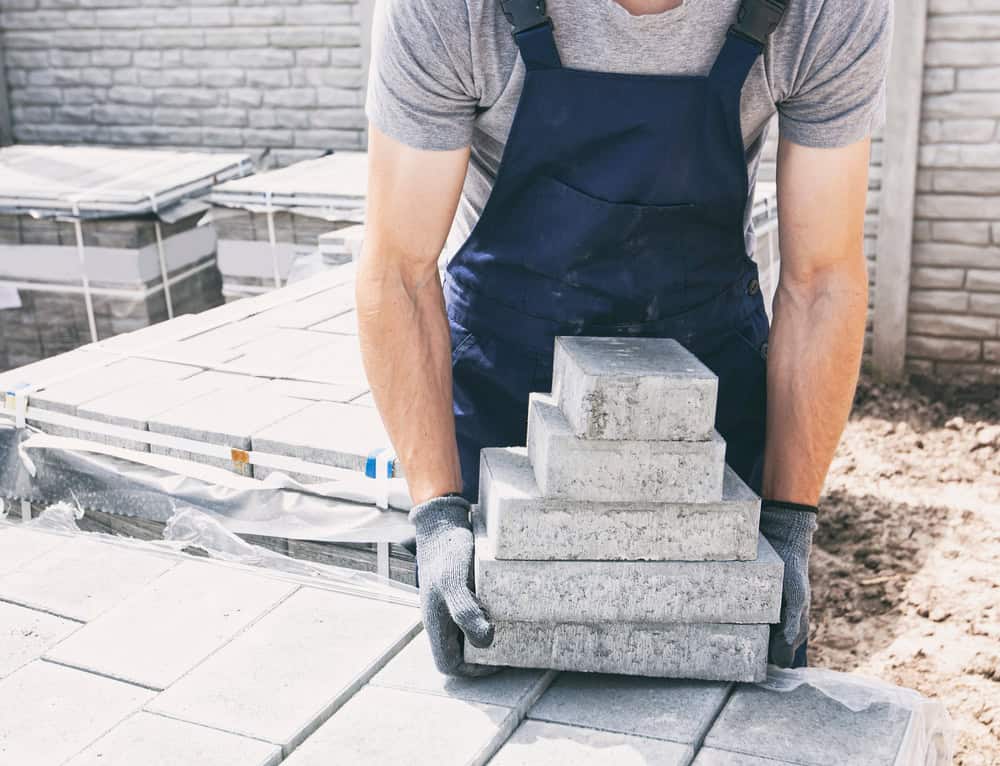
Finally, we install your chosen pavers with precise attention to joint spacing, edge restraints, and final compaction. The result is a surface that looks professional and performs reliably through years of weather and use.

A worker in an orange safety uniform is spreading asphalt on a path in a sandy area. They are using a tool to smooth the surface, with clear, defined borders of the freshly laid asphalt. Shadows fall across the path under the sunlight.

Ready to get started?

Explore More Services

About Academy Masonry and Construction

Get a Free Consultation

Patio Pavers and Hardscaping

Complete Paver Solutions for Your Property

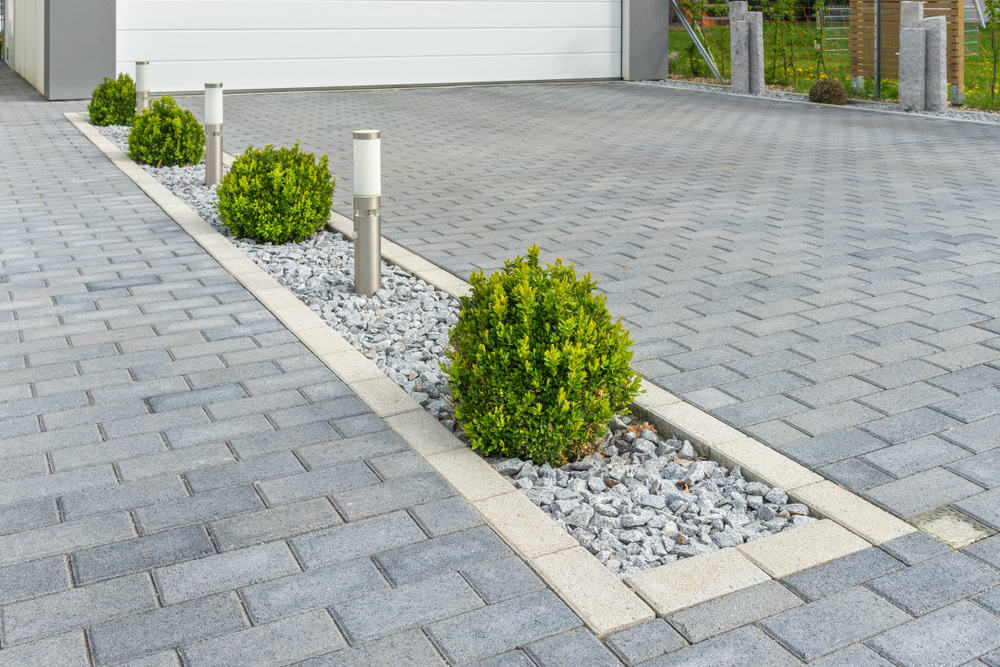
Our paver services include patios, driveways, walkways, and outdoor living spaces designed for Massachusetts weather conditions. We work with various paver materials including brick, concrete, and natural stone options.

Each project includes proper drainage solutions, appropriate base preparation, and edge restraints that prevent shifting over time. We handle permitting requirements and ensure all work meets local building codes.

You also get material and workmanship warranties, plus guidance on maintenance practices that keep your pavers looking their best. We’re not just installing pavers – we’re creating outdoor spaces that enhance how you use your property.

A construction worker wearing a gray shirt and blue overalls stacks concrete blocks in a step-like formation. The worker is wearing protective gloves. In the background, additional stacked bricks and a partially visible stone wall can be seen. The image highlights careful masonry work and organization of materials at a construction site.
Properly installed pavers can last 25-50 years or more in Massachusetts climate conditions. The key is correct base preparation and using materials designed for freeze-thaw cycles. Concrete pavers and quality brick pavers handle our winters well when installed with proper drainage and base materials. The installation process matters more than the paver material itself – shortcuts during base prep lead to settling and cracking within a few years, while proper installation creates surfaces that stay level and stable for decades.
Professional paver installation involves excavating to proper depth (typically 8-12 inches), installing compacted gravel base, adding leveling sand, then installing pavers with proper edge restraints and joint sand. Simply laying pavers on sand leads to settling, shifting, and uneven surfaces within 1-2 years. The base preparation is what prevents frost heave damage and ensures drainage works correctly. Proper edge restraints keep pavers from spreading apart over time. This foundation work isn’t visible when finished, but it’s what determines whether your pavers stay beautiful or become a maintenance headache.
Proper drainage starts with correct grading during excavation – we slope the base away from foundations and toward appropriate drainage areas. The paver base itself provides excellent drainage when installed correctly with proper materials. We also install edge drains when needed and ensure water has clear paths away from the paved area. Many drainage problems happen because contractors don’t evaluate existing water flow patterns before starting work. We look at how water moves across your property during heavy rains and design the installation to work with natural drainage rather than against it.
Installing pavers over existing concrete is possible in some situations, but it depends on the condition of the existing surface and drainage considerations. The concrete must be structurally sound, properly sloped for drainage, and stable. However, this approach often creates drainage issues and limits design flexibility. In most cases, removing the existing surface and doing proper excavation gives better long-term results. We evaluate each situation individually and explain the pros and cons of overlay versus full excavation based on your specific site conditions and goals.
Well-installed pavers require minimal maintenance. Annual tasks include cleaning debris from joints, occasional pressure washing, and reapplying joint sand as needed. Sealing is optional but can enhance color and provide stain protection – typically needed every 3-5 years depending on traffic and weather exposure. The biggest maintenance issue is usually dealing with weeds in joints, which proper joint sand and occasional reapplication prevent. Quality installation with proper base work means you won’t deal with settling, shifting, or major repairs that plague poorly installed paver projects.
Paver installation costs more upfront than basic concrete or asphalt, but provides better long-term value through durability and repairability. Individual pavers can be replaced if damaged, while concrete requires full section replacement when it cracks. Pavers also typically increase property value more than standard concrete surfaces. Cost varies based on material choice, site conditions, and project complexity. We provide detailed estimates that break down material and labor costs so you understand exactly what you’re investing in and why proper installation methods are worth the investment.