Pavers in North Waltham, MA

Transform Your Outdoor Space with Professional Pavers

Durable paver installation that handles New England weather while creating the outdoor space you’ve always wanted.

A scenic suburban house surrounded by lush greenery, featuring a curved driveway in the foreground. The property has manicured lawns, shrubs, and trees. The house exterior is grayish with multiple gables and large windows, showcasing a well-maintained residential landscape.
A construction worker wearing a gray shirt and blue overalls stacks concrete blocks in a step-like formation. The worker is wearing protective gloves. In the background, additional stacked bricks and a partially visible stone wall can be seen. The image highlights careful masonry work and organization of materials at a construction site.

Professional Paving Installation Services

What You Get with Quality Pavers

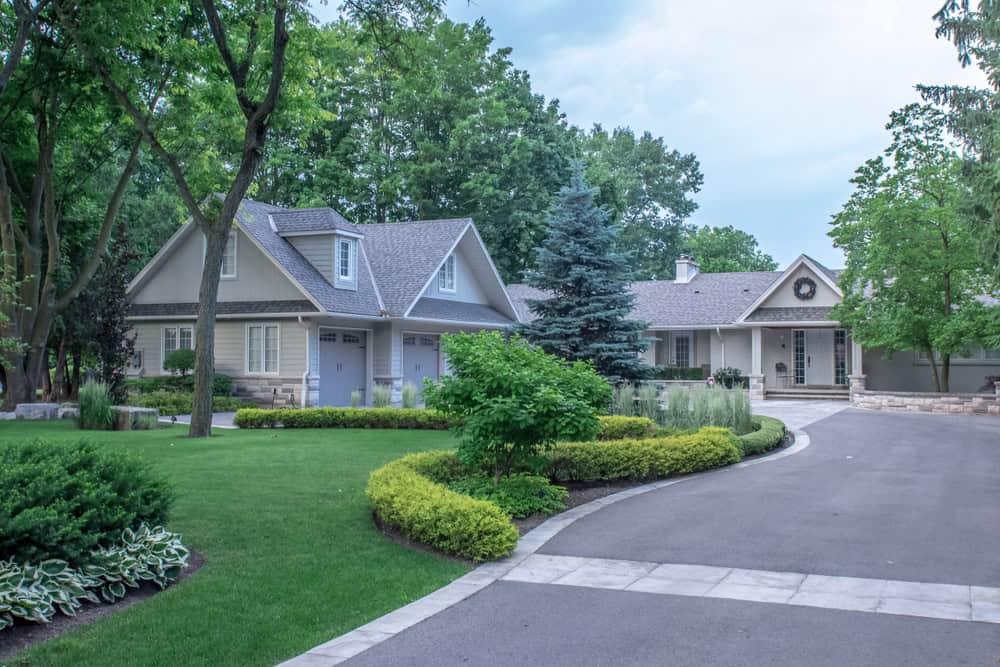
Your outdoor space becomes the place everyone wants to gather. No more avoiding that cracked concrete patio or apologizing for the uneven walkway that’s become a safety hazard.

Quality pavers give you a surface that looks great year after year. They handle our Massachusetts freeze-thaw cycles without the cracking and settling that destroys concrete. When one does get damaged, you replace a single paver instead of jackhammering an entire section.

The right paver installation also solves drainage problems that have been driving you crazy. Proper base preparation and grading mean water goes where it should instead of pooling against your foundation or creating ice patches that make you nervous every winter.

North Waltham Paving Contractors

We Know What Works Here

Academy Masonry has been installing pavers throughout the North Waltham area for years. We understand the soil conditions, drainage challenges, and weather patterns that affect every paving project in this region.

You’re not getting a crew that learned their trade in Florida trying to figure out New England installation techniques. We know how deep to dig, what base materials work best, and how to grade for proper water management.

Our work stands up because we do it right the first time. That means proper excavation, quality base materials, and installation techniques that account for seasonal ground movement.

A neatly arranged driveway made of grey pavers, featuring a central strip filled with white gravel and lined with green shrubs. Modern lamp posts are evenly spaced along the strip, guiding the way to a white garage door. The image highlights elegant landscaping design and careful paving work in a residential setting.

Paver Installation Process

How We Install Your Pavers

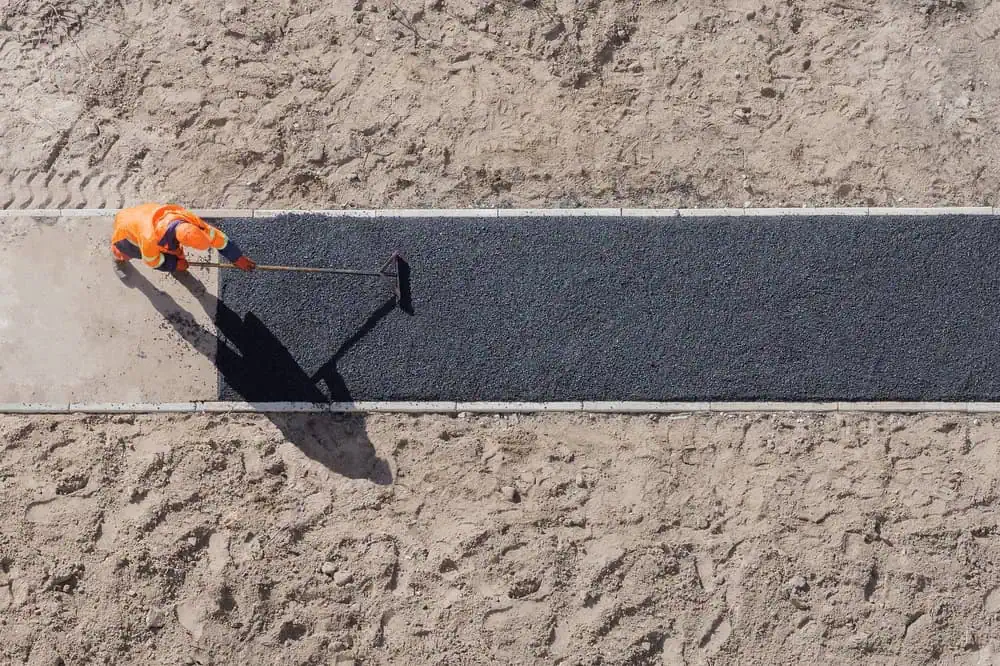
First, we excavate to the proper depth based on your soil conditions and intended use. This isn’t guesswork – we dig deep enough to create a stable foundation that won’t shift or settle.

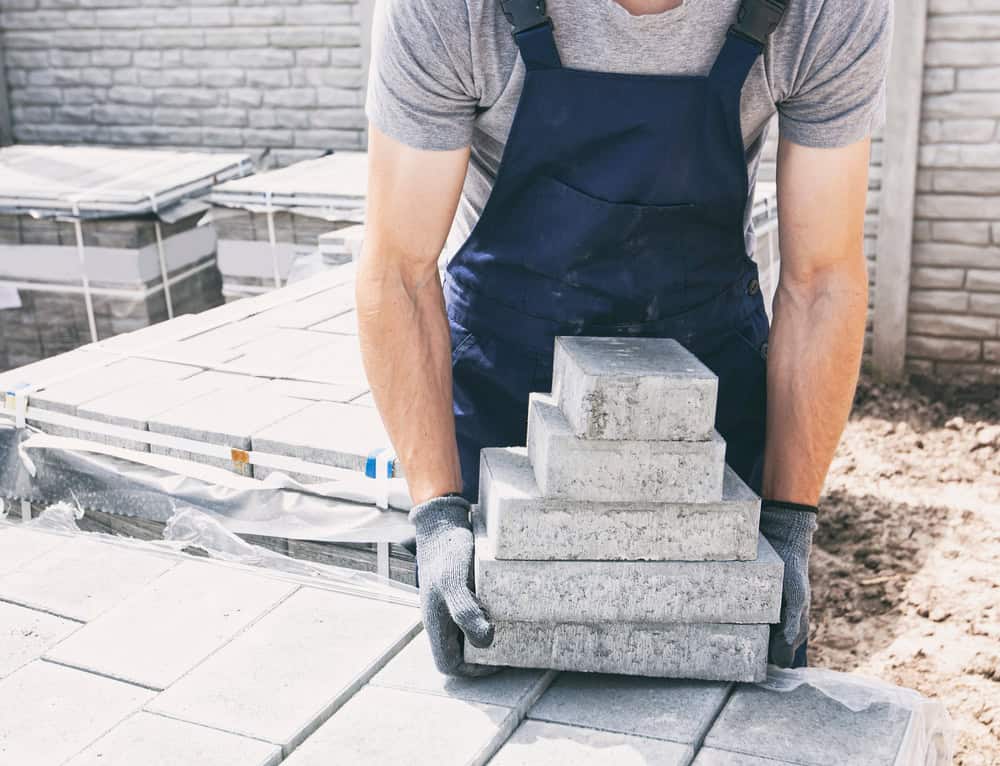
Next comes base preparation with the right materials for our climate. We use graded stone that compacts properly and provides drainage. Each layer gets compacted to specification before we move to the next step.

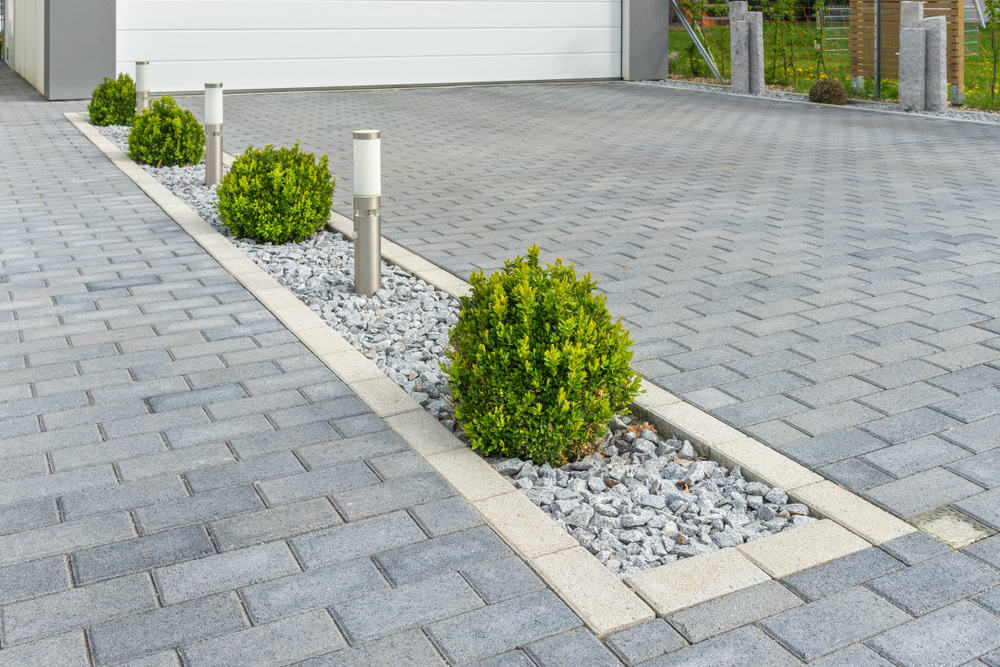
Then we install edge restraints and level the sand bed where your pavers will sit. The pavers go in according to your chosen pattern, followed by joint sand that locks everything together. Finally, we compact the entire surface and clean up completely.

You get a detailed timeline upfront so you know what to expect each day. Most residential projects take 3-5 days depending on size and complexity.

A worker in an orange safety uniform is spreading asphalt on a path in a sandy area. They are using a tool to smooth the surface, with clear, defined borders of the freshly laid asphalt. Shadows fall across the path under the sunlight.

Ready to get started?

Explore More Services

About Academy Masonry and Construction

Get a Free Consultation

Patio Paver Installation Options

What's Included in Your Project

Every paver installation includes proper excavation, base preparation, and professional installation. We don’t cut corners on the foundation work that determines how long your pavers will last.

You’ll see a variety of paver options that work well in our climate. Concrete pavers offer the most design flexibility and color choices. Natural stone provides a premium look that ages beautifully. Brick pavers give you that classic New England appearance.

We handle the details that matter – proper slope for drainage, secure edge restraints, and joint sand application that prevents weed growth and paver movement. Your project also includes cleanup and a walkthrough to make sure everything meets your expectations.

A construction worker wearing a gray shirt and blue overalls stacks concrete blocks in a step-like formation. The worker is wearing protective gloves. In the background, additional stacked bricks and a partially visible stone wall can be seen. The image highlights careful masonry work and organization of materials at a construction site.
Quality pavers installed correctly last 25-30 years or more in Massachusetts. The key is proper installation with adequate base preparation and drainage. Concrete pavers handle freeze-thaw cycles better than poured concrete because individual units can move slightly without cracking. Natural stone pavers can last even longer – some installations from the early 1900s are still solid today. The base preparation matters more than the paver material when it comes to longevity in our climate.
Pavers are individual units that can move independently, while stamped concrete is one continuous slab. This makes pavers much more durable in freeze-thaw conditions because they won’t develop the large cracks that plague concrete patios. If a paver gets damaged, you replace just that piece. With stamped concrete, damage often means replacing the entire section. Pavers also offer better drainage since water can filter between joints instead of running off a solid surface.
Paver installation typically costs 20-40% more upfront than basic concrete, but the long-term value is significantly better. You avoid the replacement costs that come with concrete cracking and settling. Pavers also add more to your property value – real estate professionals consistently rate paver patios higher than concrete. When you factor in durability and resale value, pavers often cost less over time. We provide detailed estimates that break down all costs so you can make an informed decision.
Sometimes, but it depends on the condition of your existing concrete and drainage situation. If the concrete is level, structurally sound, and has proper drainage, pavers can be installed over it with the right preparation. However, if there are cracks, settling, or drainage problems, we recommend removal and proper base installation. Installing over problem concrete just transfers those problems to your new pavers. We evaluate each situation individually and recommend the approach that gives you the best long-term results.
Pavers require minimal maintenance compared to other surfaces. Annual cleaning with a pressure washer or hose keeps them looking good. You may need to add joint sand every few years as it naturally settles or washes out. Sealing is optional but can enhance color and make cleaning easier – most homeowners seal every 3-5 years. If weeds grow between joints, they pull out easily or can be treated with standard weed killer. Individual damaged pavers can be replaced without disturbing the surrounding area.
Most residential paver projects take 3-5 days depending on size, complexity, and weather conditions. Simple patios or walkways might be completed in 2-3 days, while larger projects with multiple areas or complex patterns take longer. Weather delays can extend the timeline since we won’t install pavers in wet conditions – proper base preparation requires dry weather. We provide a realistic timeline during your estimate and keep you updated if conditions cause delays. The installation moves quickly once we start, but we won’t rush the foundation work that determines long-term performance.