Pavers in North Billerica, MA

Pavers That Actually Last

Professional installation, proper drainage, and materials built for New England weather.

A scenic suburban house surrounded by lush greenery, featuring a curved driveway in the foreground. The property has manicured lawns, shrubs, and trees. The house exterior is grayish with multiple gables and large windows, showcasing a well-maintained residential landscape.
A construction worker wearing a gray shirt and blue overalls stacks concrete blocks in a step-like formation. The worker is wearing protective gloves. In the background, additional stacked bricks and a partially visible stone wall can be seen. The image highlights careful masonry work and organization of materials at a construction site.

Professional Paving Installation Services

Your Outdoor Space, Done Right

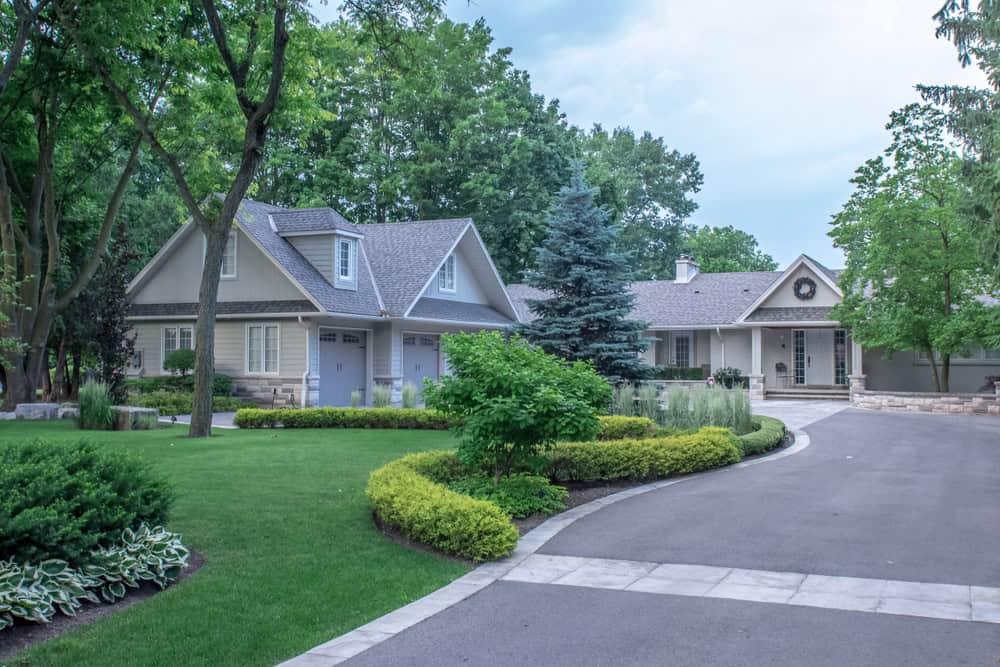
You get a patio that stays level. No settling, no cracking, no water pooling after heavy rains. That’s what happens when the base is prepared correctly and drainage is planned from day one.

Your weekends stay yours. No more staring at that unfinished project or dealing with the mess of trying to figure out sand calculations and proper slopes. You get to enjoy the space instead of building it.

The value sticks. When pavers are installed with the right foundation and materials that handle freeze-thaw cycles, your investment actually pays off. Both in daily use and when it comes time to sell.

North Billerica Paving Contractors

We Know North Billerica Ground

We’ve been handling paver installations in North Billerica for years. We understand how the local soil behaves, what drainage challenges you’re facing, and which materials hold up best in our climate.

Every job gets the same attention to foundation work and proper installation techniques. No shortcuts, no guessing on base depth or drainage slopes. We’ve seen what happens when corners get cut, and we’ve fixed plenty of those jobs too.

A neatly arranged driveway made of grey pavers, featuring a central strip filled with white gravel and lined with green shrubs. Modern lamp posts are evenly spaced along the strip, guiding the way to a white garage door. The image highlights elegant landscaping design and careful paving work in a residential setting.

Paver Installation Process

Here's How We Handle Your Project

First, we assess your space and soil conditions. Every North Billerica property is different, and the foundation work needs to match what we’re dealing with. We measure, plan drainage, and walk you through material options that make sense for your budget and use.

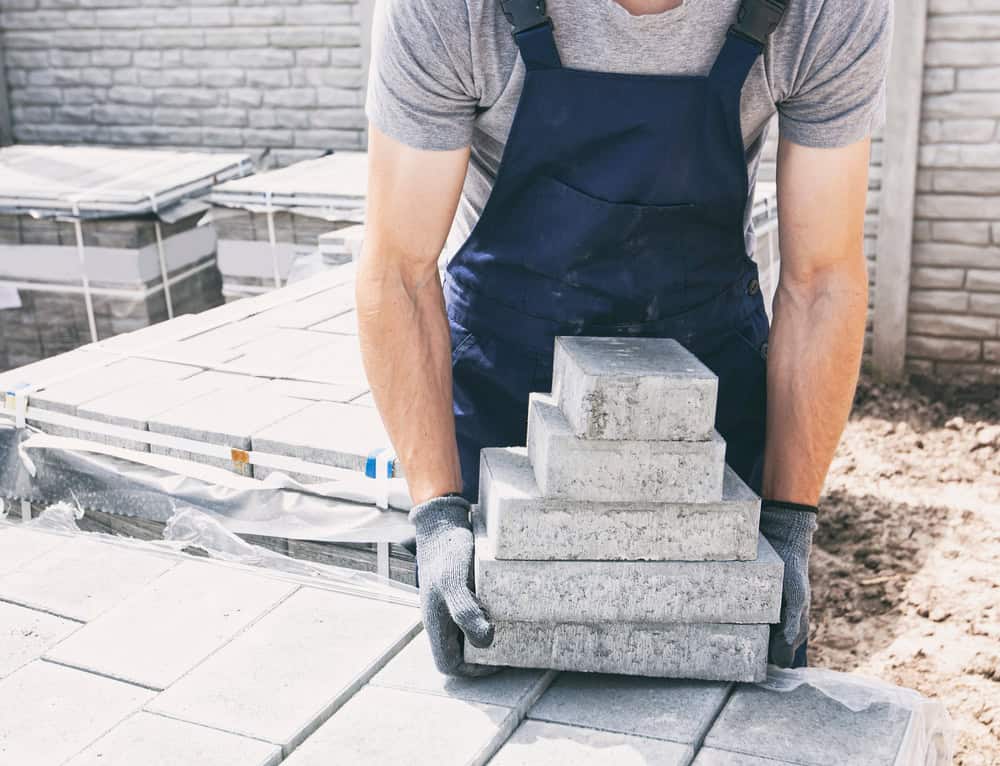
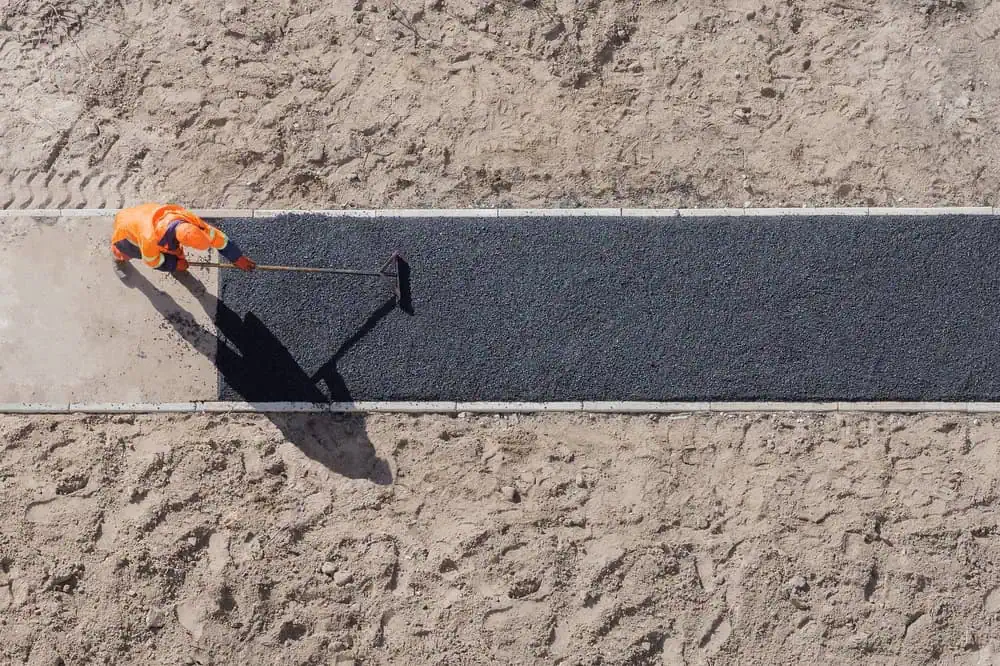
Next comes excavation and base preparation. This is where most DIY projects fail and where some contractors cut corners. We dig to proper depth, install base materials in lifts, and compact everything to specifications. The drainage system goes in during this phase.

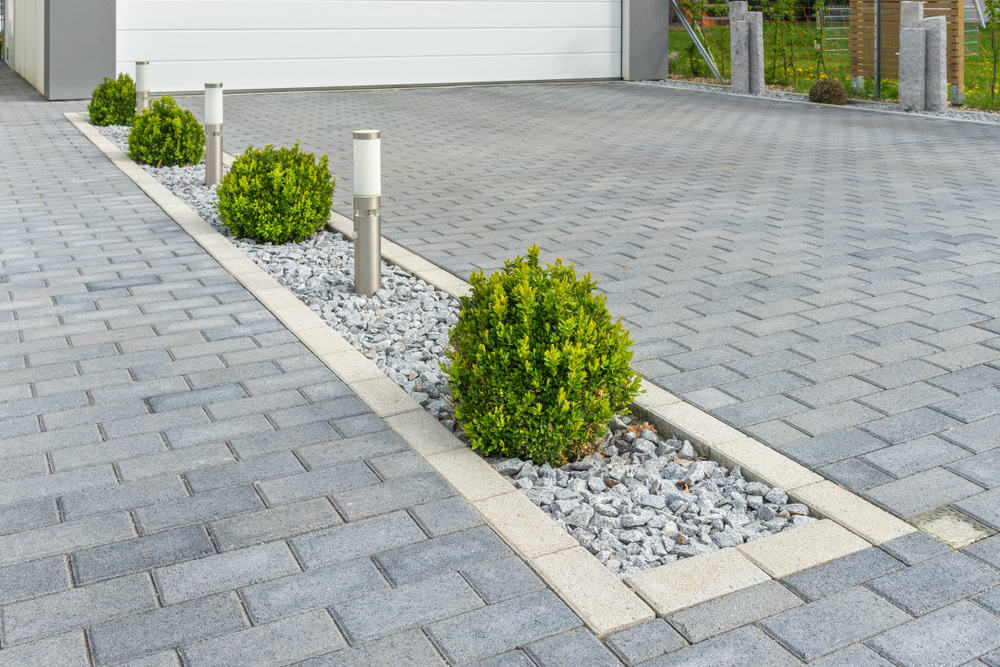
Installation comes last, but it’s precise work. Every paver gets set level, joints stay consistent, and edges are properly secured. We clean up completely and walk you through maintenance basics. Simple as that.

A worker in an orange safety uniform is spreading asphalt on a path in a sandy area. They are using a tool to smooth the surface, with clear, defined borders of the freshly laid asphalt. Shadows fall across the path under the sunlight.

Ready to get started?

Explore More Services

About Academy Masonry and Construction

Get a Free Consultation

Patio Pavers and Walkway Installation

What's Included in Every Job

You get complete excavation and base preparation, not just surface work. That means proper depth, quality base materials, and compaction that prevents settling. Drainage planning is included because water management matters in North Billerica.

Material delivery and professional installation with the right tools. We bring equipment that ensures level surfaces and proper compaction. Edge restraints, joint sand, and sealing recommendations are all part of the package.

Clean-up and maintenance guidance. Your property gets left cleaner than we found it, and you get straightforward instructions for keeping your pavers looking good long-term. No mystery maintenance requirements or expensive ongoing services.

A construction worker wearing a gray shirt and blue overalls stacks concrete blocks in a step-like formation. The worker is wearing protective gloves. In the background, additional stacked bricks and a partially visible stone wall can be seen. The image highlights careful masonry work and organization of materials at a construction site.
Properly installed pavers handle North Billerica’s freeze-thaw cycles for decades. The key is adequate base preparation and proper drainage. When the foundation is right, pavers flex with ground movement instead of cracking like concrete. Most of our installations are still performing well after 15-20 years. The pavers themselves can last 50+ years, but the installation quality determines whether you’ll have settling or shifting issues. That’s why base work matters more than the paver brand you choose.
Base preparation and drainage planning. DIY installations often skip proper excavation depth, use inadequate base materials, or miss drainage considerations entirely. Professional installation means excavating to the right depth for your soil conditions, installing base materials in proper lifts with compaction, and planning water flow before any pavers go down. We also have equipment that ensures consistent compaction and level surfaces. Most DIY projects look good initially but develop problems within 2-3 years when the base wasn’t prepared correctly.
Paver installation typically runs $15-25 per square foot for standard projects, depending on materials, site conditions, and complexity. Simple rectangular patios cost less than curved designs with multiple elevations. Excavation requirements vary based on existing conditions and soil type. We provide detailed estimates after assessing your specific site because every property has different challenges. The investment usually pays for itself in property value and eliminates the ongoing maintenance costs of other patio materials. Financing options are available for larger projects.
Sometimes, but it depends on the concrete’s condition and your drainage situation. If the existing concrete is level, structurally sound, and drains properly, pavers can be installed over it with proper preparation. However, if there are cracks, settling, or drainage issues, those problems will transfer to the new paver surface. We evaluate each situation individually because covering up drainage problems or unstable concrete just creates bigger issues later. In many cases, removing the old concrete and starting with proper base preparation gives better long-term results.
Basic maintenance is straightforward. Sweep regularly to prevent debris buildup, and rinse with water for cleaning. Joint sand may need topping off every few years, especially after heavy rains or snow removal. Sealing is optional but helps with stain resistance and color retention. Most homeowners seal every 3-5 years. Weeds can grow in joints if organic matter accumulates, but proper joint sand and occasional maintenance prevent this. Winter snow removal is fine with plastic shovels or snow blowers. Avoid metal shovels and ice melt products that can damage the surface.
Most residential patio projects take 3-5 days, depending on size and complexity. Day one is usually excavation and base preparation. Days two and three involve base material installation, compaction, and drainage work. Paver installation and finishing typically happen on the final days. Weather can extend timelines, especially during base preparation phases. Larger projects or complex designs with multiple elevations take longer. We provide realistic timelines upfront and keep you updated on progress. The timeline also depends on material delivery schedules and any utility marking requirements for excavation work.