Pavers in Newton Highlands, MA

Outdoor Spaces That Actually Last

Professional paver installation that handles New England weather without the cracks, settling, or constant repairs.

A scenic suburban house surrounded by lush greenery, featuring a curved driveway in the foreground. The property has manicured lawns, shrubs, and trees. The house exterior is grayish with multiple gables and large windows, showcasing a well-maintained residential landscape.
A construction worker wearing a gray shirt and blue overalls stacks concrete blocks in a step-like formation. The worker is wearing protective gloves. In the background, additional stacked bricks and a partially visible stone wall can be seen. The image highlights careful masonry work and organization of materials at a construction site.

Paver Installation Newton Highlands

What You Get With Proper Installation

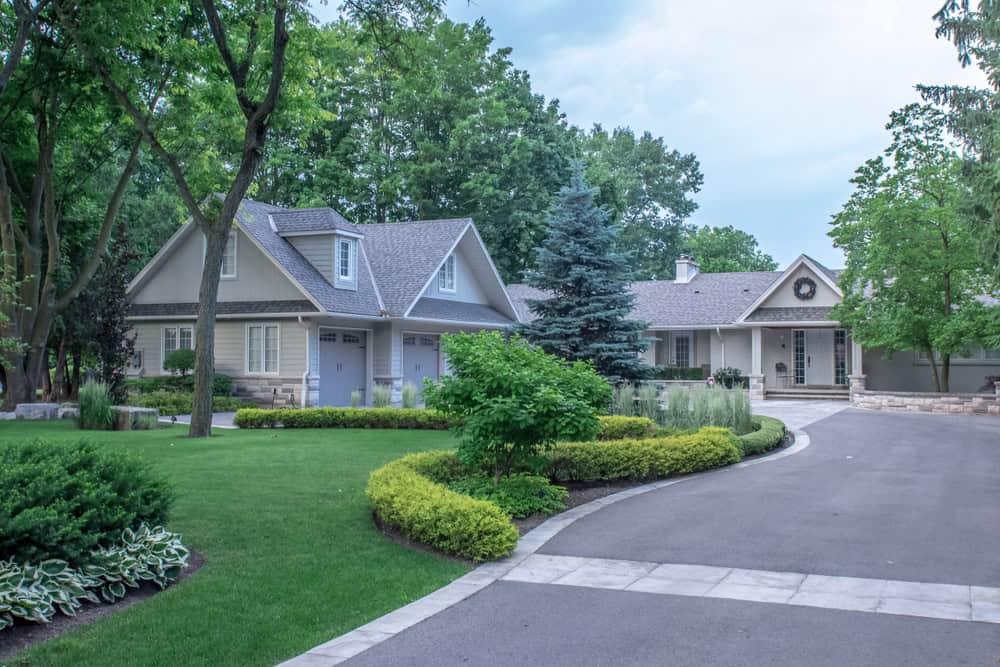
Your outdoor space becomes the part of your home you actually want to use. No more avoiding that uneven patio or explaining away cracked walkways to neighbors.

When pavers are installed correctly with proper base preparation and drainage, they handle freeze-thaw cycles without shifting. You get surfaces that look sharp year after year, not ones that need constant attention every spring.

The right installation means your investment pays off long-term. Your property value increases, your outdoor entertaining options expand, and you stop worrying about whether your hardscaping will hold up through another New England winter.

Newton Highlands Paving Contractors

We Know New England Weather

Academy Masonry has been handling paver installations in Newton Highlands and surrounding areas for years. We understand what works in this climate and what doesn’t.

Most paver failures happen because of poor base preparation or inadequate drainage planning. We’ve seen enough repair jobs to know exactly where other contractors cut corners.

Our approach focuses on the foundation work that you can’t see but makes all the difference in how your pavers perform over time. That’s why our installations stay level and crack-free while others need repairs within a few seasons.

A neatly arranged driveway made of grey pavers, featuring a central strip filled with white gravel and lined with green shrubs. Modern lamp posts are evenly spaced along the strip, guiding the way to a white garage door. The image highlights elegant landscaping design and careful paving work in a residential setting.

Paving Installation Process Newton

The Right Way Takes More Time

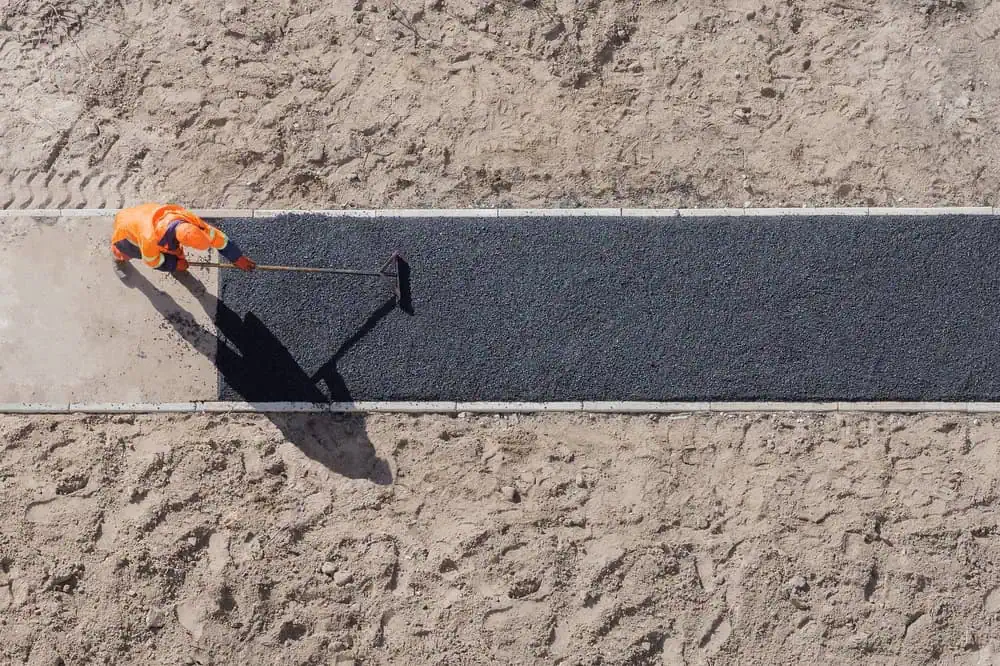
We start with proper excavation and base preparation. This means digging deeper than many contractors bother with and creating a foundation that won’t shift when the ground freezes and thaws.

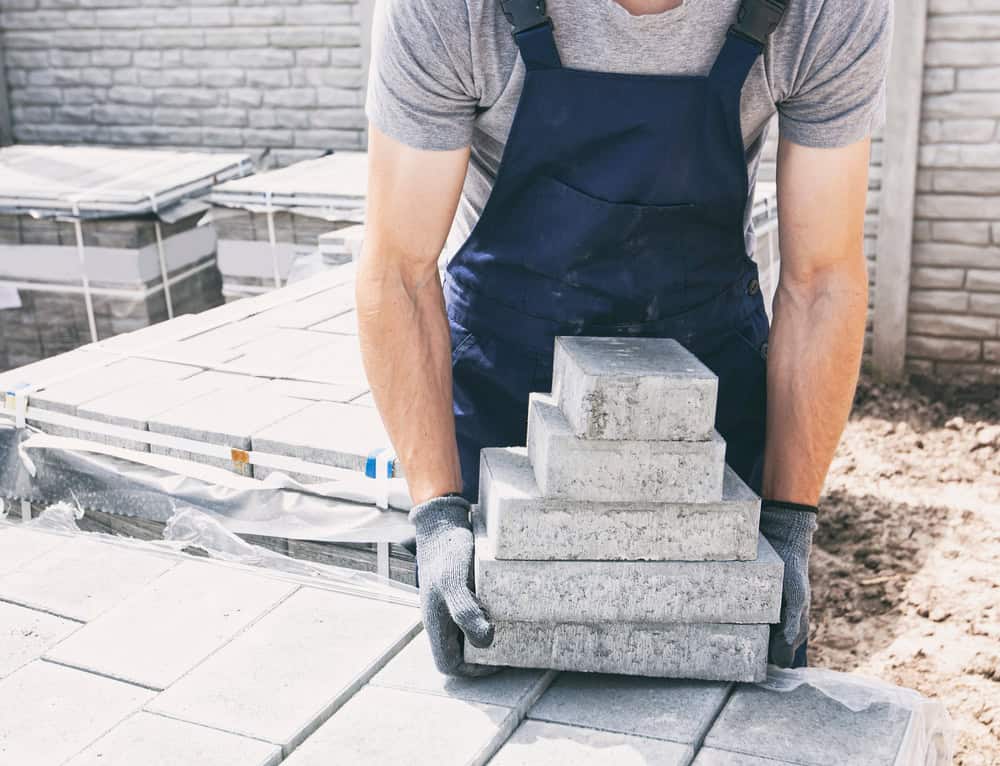
Next comes the base material installation with proper compaction at each layer. We’re not rushing this part because it determines whether your pavers stay level for decades or start shifting within two years.

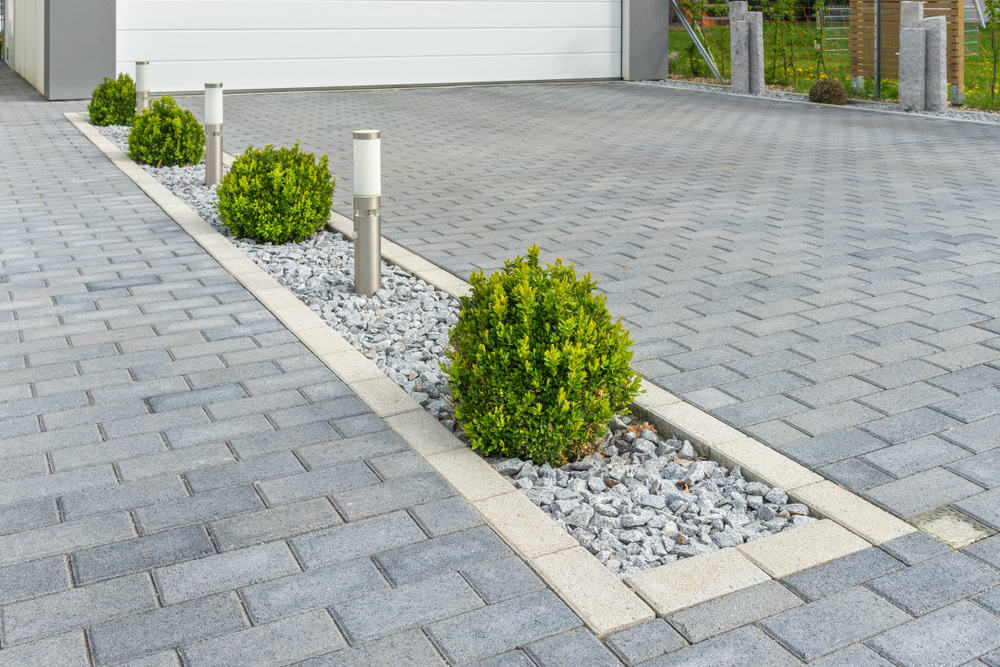
The actual paver installation happens methodically with attention to drainage slope and joint spacing. We finish with edge restraints that actually hold everything in place and proper joint sand that won’t wash away with the first heavy rain.

A worker in an orange safety uniform is spreading asphalt on a path in a sandy area. They are using a tool to smooth the surface, with clear, defined borders of the freshly laid asphalt. Shadows fall across the path under the sunlight.

Ready to get started?

Explore More Services

About Academy Masonry and Construction

Get a Free Consultation

Brick Patio Contractors Massachusetts

What's Included In Every Project

Every paver installation includes proper excavation to the depth your specific soil conditions require. We don’t use the same depth for every job because every site is different.

You get base material that’s appropriate for New England freeze-thaw cycles, installed in lifts and compacted properly at each stage. This isn’t where we save time or money because it’s what prevents future problems.

The installation includes edge restraints that actually work, proper drainage planning to prevent water issues, and joint sand that stays in place. We clean up completely and walk you through basic maintenance so your investment lasts.

A construction worker wearing a gray shirt and blue overalls stacks concrete blocks in a step-like formation. The worker is wearing protective gloves. In the background, additional stacked bricks and a partially visible stone wall can be seen. The image highlights careful masonry work and organization of materials at a construction site.
Properly installed pavers can last 25-30 years or more in Massachusetts climate. The key is proper base preparation and drainage design that accounts for freeze-thaw cycles. Pavers themselves are extremely durable, but the installation quality determines longevity. Most failures happen within the first 5 years due to inadequate base work or poor drainage, not because the pavers themselves wear out. When installed correctly with appropriate base depth and materials, pavers actually perform better than poured concrete in New England weather because they can flex slightly with ground movement.
The main difference is base preparation depth and quality of materials used underneath the pavers you see. Cheap installations use minimal excavation, inadequate base material, and poor compaction techniques. This saves time upfront but leads to settling, shifting, and cracking within a few years. Quality installation includes proper excavation depth based on soil conditions, appropriate base materials installed in lifts with proper compaction, and attention to drainage details. You’re paying for the work you can’t see that determines whether your pavers stay level and stable for decades.
Yes, properly installed pavers handle snow removal and winter conditions better than most other surfaces. Unlike concrete that can crack from freeze-thaw cycles, pavers can flex slightly with ground movement. You can use snow blowers, plows, and ice melt products without damage. The key is proper installation with adequate base preparation and joint sand that stays in place. Individual pavers can even be replaced if damaged, which isn’t possible with concrete surfaces. Most winter damage to pavers comes from poor installation rather than the pavers themselves being unable to handle the conditions.
Paver installation costs vary significantly based on site conditions, material choice, and installation complexity. Basic installations start around $15-20 per square foot, while premium materials and complex designs can reach $30+ per square foot. The biggest cost factors are excavation requirements, base preparation needs, and access to your site. Properties with poor drainage or difficult access cost more because they require additional work. Getting multiple detailed estimates helps you understand what’s included in each price, since the cheapest bid often means corners will be cut on base preparation or materials.
Properly installed pavers require minimal maintenance compared to other surfaces. Annual maintenance includes checking joint sand levels and adding more if needed, especially after heavy rains. Occasional cleaning with a pressure washer keeps them looking sharp, and sealing every 3-5 years helps maintain color and makes cleaning easier. The biggest maintenance issue is usually weeds growing in joints, which proper joint sand and occasional treatment prevent. Individual pavers can be replaced if damaged, and the surface can be releveled if minor settling occurs. This repairability is a major advantage over concrete surfaces that crack permanently.
Most paver installations for patios and walkways don’t require permits in Newton Highlands, but regulations can change and some situations do require permits. Larger projects, installations near property lines, or work that affects drainage patterns may need approval. Projects involving significant excavation or changes to site grading sometimes require permits as well. We handle permit research and applications when needed as part of our service. It’s always better to check with the town before starting work rather than dealing with compliance issues later. The permit process, when required, typically takes a few weeks and ensures your project meets local standards.