Pavers in Natick, MA

Transform Your Outdoor Space With Professional Pavers

Custom paver installation that withstands New England weather while adding lasting value to your Natick home.

A scenic suburban house surrounded by lush greenery, featuring a curved driveway in the foreground. The property has manicured lawns, shrubs, and trees. The house exterior is grayish with multiple gables and large windows, showcasing a well-maintained residential landscape.
A construction worker wearing a gray shirt and blue overalls stacks concrete blocks in a step-like formation. The worker is wearing protective gloves. In the background, additional stacked bricks and a partially visible stone wall can be seen. The image highlights careful masonry work and organization of materials at a construction site.

Professional Paver Installation Services

Beautiful Outdoor Spaces That Function Perfectly

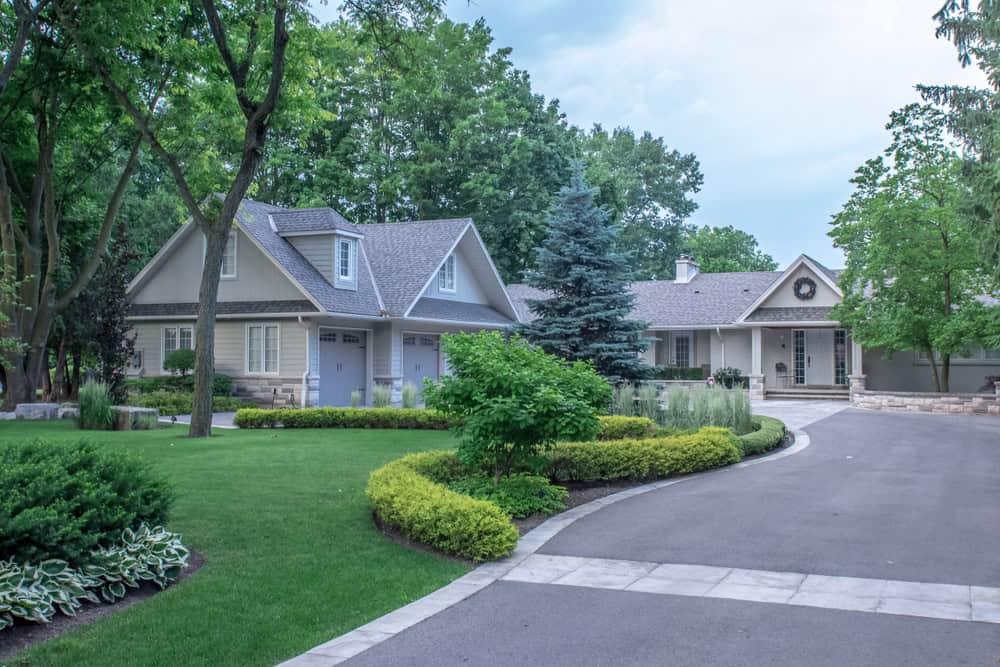
You’ll have an outdoor area that handles everything from summer barbecues to winter freeze-thaw cycles without cracking or settling. Your new paver patio or driveway stays level, drains properly, and looks great year after year.

No more dealing with cracked concrete or puddles that turn into ice rinks. Instead, you get a surface that’s both beautiful and functional, designed specifically for New England’s climate.

Your property value increases while your maintenance headaches are non-existent. Our paving installations are built to last decades, not just a few seasons.

Natick’s Trusted Paving Contractors

We Understand Natick’s Soil and Terrain

Academy Masonry has been installing pavers throughout the Natick area for years, and we understand exactly what works in the region’s soil conditions. We’ve seen what happens when corners are cut, and we’ve built our reputation on doing the job right the first time.

Our team knows brick patio contractors know local building requirements and work with the materials that perform best in our climate. Our installations are designed to stand the test of time.

A neatly arranged driveway made of grey pavers, featuring a central strip filled with white gravel and lined with green shrubs. Modern lamp posts are evenly spaced along the strip, guiding the way to a white garage door. The image highlights elegant landscaping design and careful paving work in a residential setting.

Our Paver Installation Process

Here's How We Build It Right

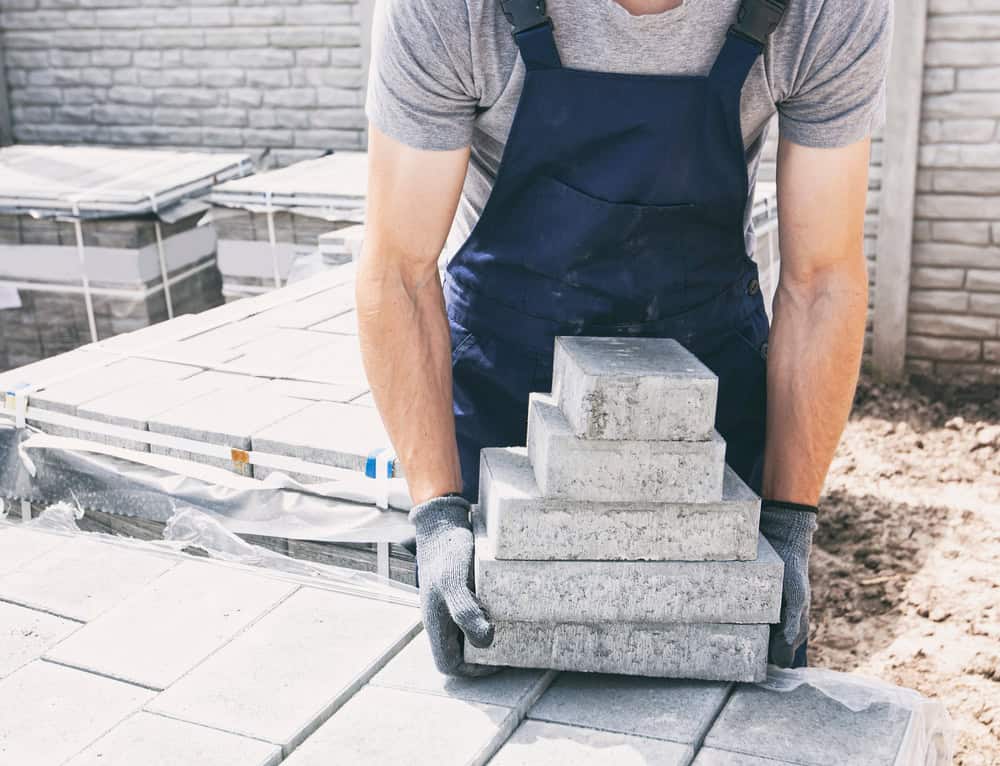
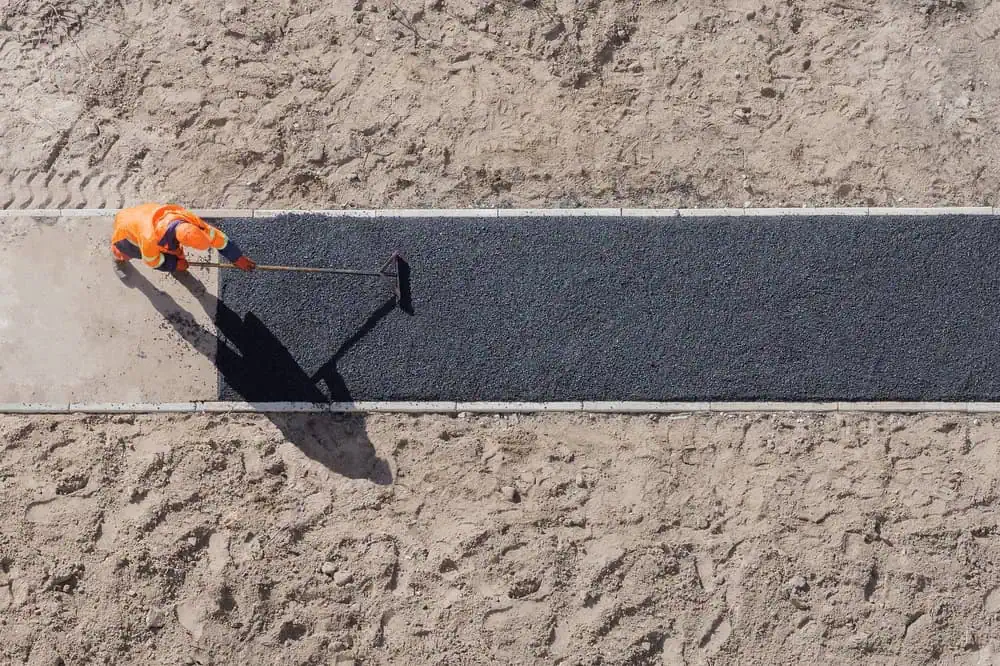
We start with proper excavation and base preparation because that’s where most paver projects succeed or fail. The base gets compacted in lifts with the right materials for drainage and stability.

Next comes sand leveling and edge restraints to keep everything locked in place. Then we install your pavers according to the pattern you selected, with proper spacing, followed by joint sand and final compaction.

The whole process typically takes 3-5 days, depending on size and complexity. You’ll see steady progress each day, and we clean up completely when finished. Most importantly, you get a surface that’s ready to use immediately and built to handle whatever New England’s weather has in store.

A worker in an orange safety uniform is spreading asphalt on a path in a sandy area. They are using a tool to smooth the surface, with clear, defined borders of the freshly laid asphalt. Shadows fall across the path under the sunlight.

Ready to get started?

Explore More Services

About Academy Masonry and Construction

Get a Free Consultation

Patio Paver Installation Options

What's Included In Your Installation

Every paver installation includes proper excavation, engineered base materials, and professional-grade edge restraints. We handle all the technical details, such as slope calculations for drainage and compaction requirements for stability.

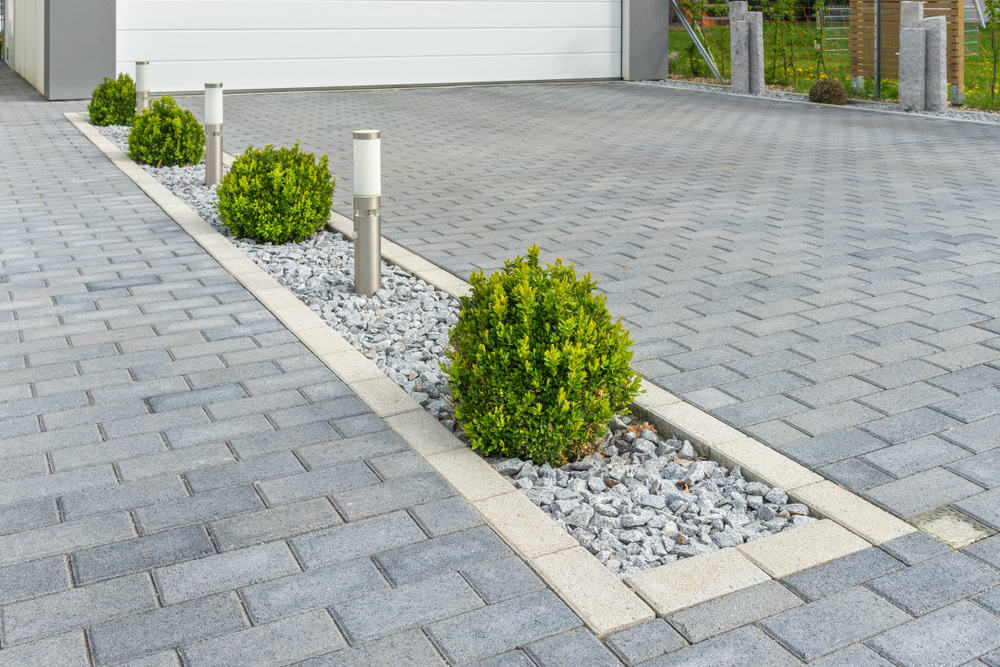
You get to choose from a wide range of paver styles, colors, and patterns that complement your home’s architecture. We’ll walk you through options that work well in our area and explain the pros and cons of different materials.

The installation comes with proper joint sand application and initial sealing when recommended. We also provide maintenance guidance so you know how to keep your new surface looking its best for years to come.

A construction worker wearing a gray shirt and blue overalls stacks concrete blocks in a step-like formation. The worker is wearing protective gloves. In the background, additional stacked bricks and a partially visible stone wall can be seen. The image highlights careful masonry work and organization of materials at a construction site.
Quality pavers installed with proper base preparation typically last 25-30 years or more in Massachusetts. The key is having adequate drainage and a well-compacted base that won’t shift during freeze-thaw cycles. Individual pavers can be replaced if damaged, unlike concrete, which requires full section replacement when it cracks. We use materials specifically rated for our climate zone and install them according to the manufacturer’s specifications for maximum longevity.
Pavers offer several advantages over stamped concrete in our climate. When concrete cracks from freeze-thaw cycles, you need to replace entire sections. With pavers, you can replace individual units, if needed. Pavers also provide better drainage through the joints and typically offer better traction when wet. The upfront cost is usually higher, but the long-term maintenance costs are lower. Stamped concrete can look great initially, but the color and texture tend to fade over time, while pavers maintain their appearance.
Paver installation costs vary based on size, material choice, site conditions, and design complexity. Basic installations typically start around $15-$20 per square foot, while premium materials and complex patterns can reach $25-$35 per square foot. The investment includes excavation, base materials, labor, and materials. We provide detailed estimates that break down all costs so you understand exactly what you’re getting. Most homeowners find the long-term value and reduced maintenance costs justify the initial investment.
In some cases, pavers can be installed over existing concrete, but it depends on the concrete’s condition and drainage situation. The existing surface needs to be stable, properly sloped for drainage, and free from major cracks or settling. We typically add a leveling layer and ensure proper edge restraints. However, if the concrete has drainage issues or significant damage, complete removal and proper base installation usually provides better long-term results. We’ll assess your specific situation and recommend the best approach.
Paver maintenance is relatively simple compared to other surfaces. Annual tasks include cleaning with a pressure washer, removing any weeds from joints, and adding joint sand as needed. Every few years, you might want to apply a sealer to enhance color and provide stain protection, though this isn’t always necessary. Snow removal is easier than with concrete because you don’t need to worry about salt damage or freeze-thaw cracking. If individual pavers become damaged or stained, they can be replaced without affecting the surrounding area.
The ideal installation window runs from late spring through mid-fall, typically April through October. We avoid installation during freeze-thaw periods and when ground conditions are too wet for proper compaction. Summer installations allow the base to fully settle before winter, while fall installations can work well if completed before ground freeze. Spring installations are popular because you can enjoy the space all summer. We recommend scheduling consultations in late winter or early spring to secure your preferred installation timeframe, as the best contractors book up quickly during peak season.