Pavers in Inman Square, MA

Pavers That Actually Last

Professional paver installation that handles New England weather without settling, shifting, or disappointing you later.

A scenic suburban house surrounded by lush greenery, featuring a curved driveway in the foreground. The property has manicured lawns, shrubs, and trees. The house exterior is grayish with multiple gables and large windows, showcasing a well-maintained residential landscape.
A construction worker wearing a gray shirt and blue overalls stacks concrete blocks in a step-like formation. The worker is wearing protective gloves. In the background, additional stacked bricks and a partially visible stone wall can be seen. The image highlights careful masonry work and organization of materials at a construction site.

Paver Installation Inman Square

Outdoor Spaces You'll Use

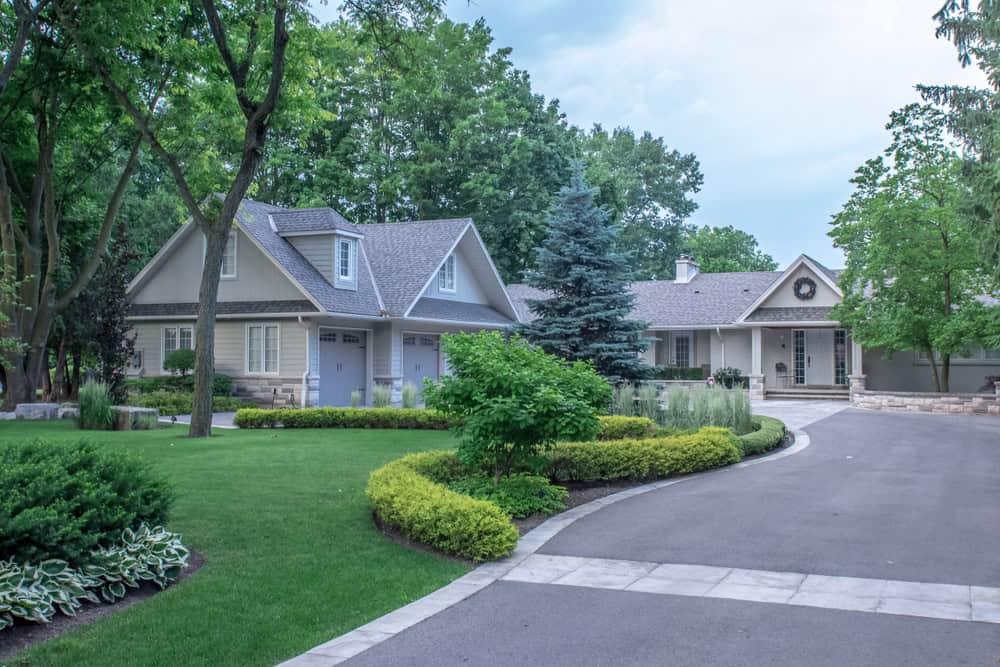
Your patio becomes the place where morning coffee tastes better and evening conversations last longer. No more looking at that cracked concrete or uneven stones wondering when you’ll finally do something about it.

Properly installed pavers handle Massachusetts freeze-thaw cycles without the drama. They drain water instead of pooling it. They stay level instead of creating trip hazards for your family and guests.

You get an outdoor space that works with your lifestyle instead of against it. One that adds value to your property and gives you something to be proud of when neighbors walk by.

Paving Contractors Inman Square

Masonry Work Done Right

We’ve been handling paver installations throughout Cambridge and Somerville for years. We understand what works in this area and what doesn’t.

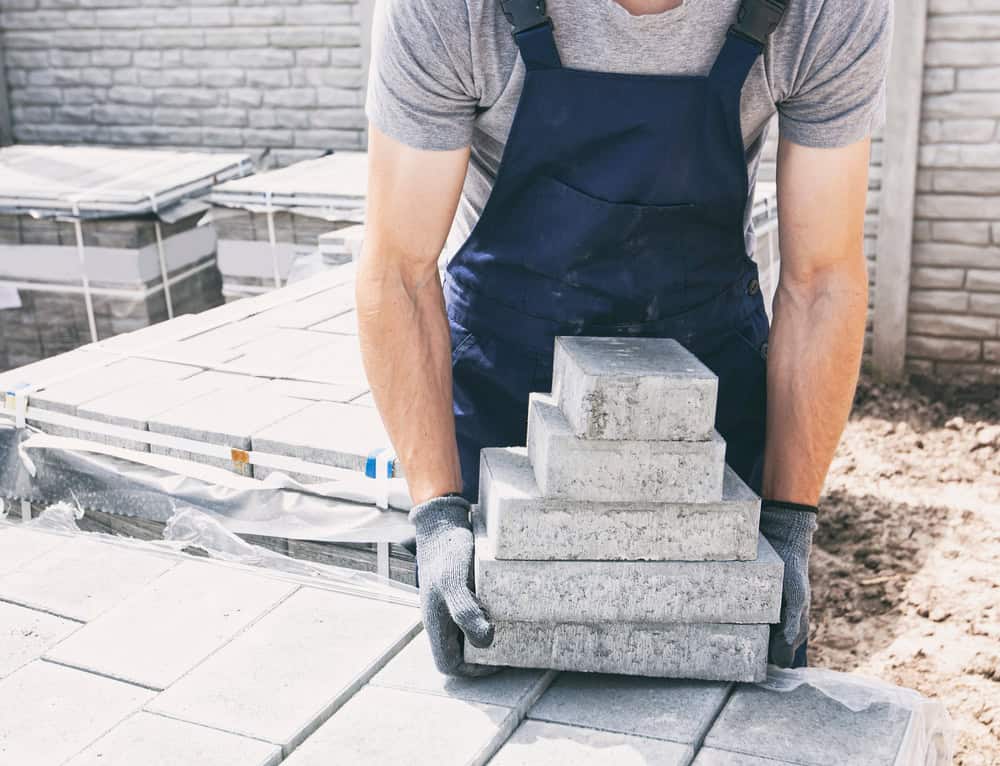
Every project starts with proper base preparation because shortcuts always show up later. We use quality materials that match the character of Inman Square’s diverse architectural styles.

We know local building requirements and handle permits properly. No surprises, no cutting corners, no hoping it works out.

A neatly arranged driveway made of grey pavers, featuring a central strip filled with white gravel and lined with green shrubs. Modern lamp posts are evenly spaced along the strip, guiding the way to a white garage door. The image highlights elegant landscaping design and careful paving work in a residential setting.

Patio Paver Installation Process

How Your Project Actually Happens

First, we assess your space and discuss what you want to accomplish. No high-pressure sales pitch, just honest conversation about options, timeline, and budget.

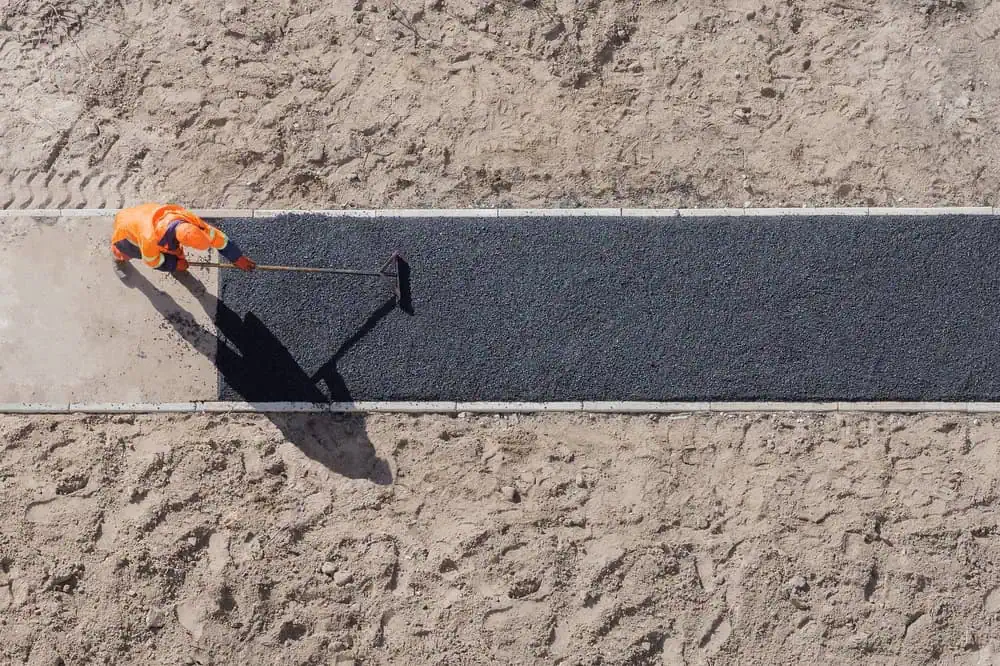
Next comes proper excavation and base preparation. This step determines whether your pavers will still look good in five years or start settling next spring. We dig deep enough, compact properly, and install the right base materials for your specific soil conditions.

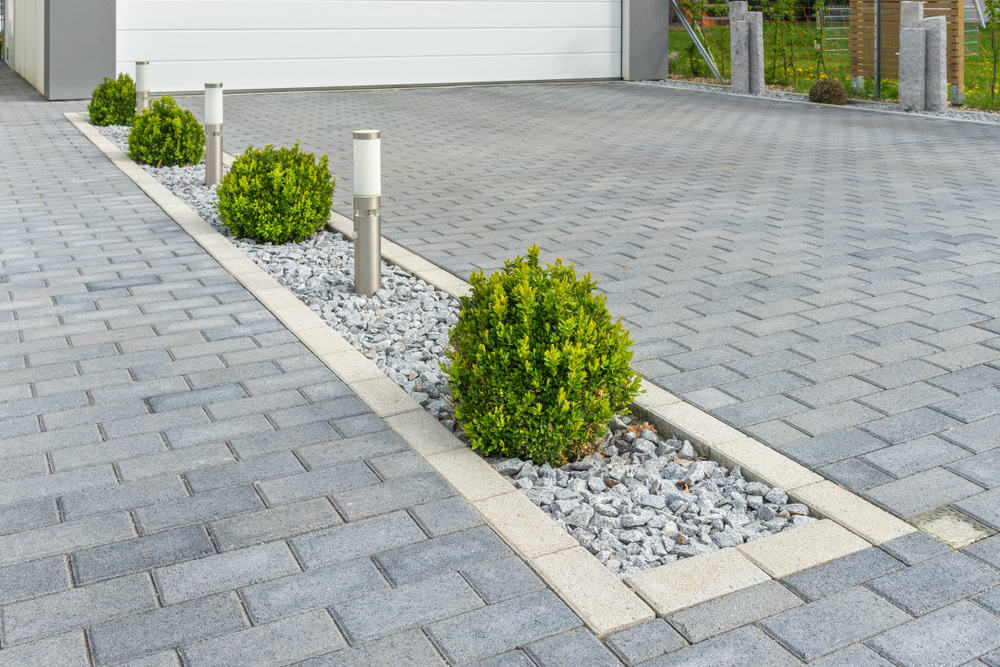
Then we install your pavers with attention to pattern, spacing, and proper edge restraints. Final steps include joint sand application and sealing if needed. You get a walkthrough of the completed work and care instructions that actually make sense.

A worker in an orange safety uniform is spreading asphalt on a path in a sandy area. They are using a tool to smooth the surface, with clear, defined borders of the freshly laid asphalt. Shadows fall across the path under the sunlight.

Ready to get started?

Explore More Services

About Academy Masonry and Construction

Get a Free Consultation

Brick Paving Contractors Massachusetts

What's Included in Every Project

Every paver installation includes proper excavation, base preparation with crushed stone, and sand leveling course. You get quality pavers installed to manufacturer specifications with appropriate joint spacing and edge restraints.

We handle cleanup daily because your property isn’t our storage yard. All necessary permits are obtained and work meets local building codes. Material delivery is scheduled to minimize disruption to your routine.

Your project includes a final inspection walkthrough and maintenance guidelines. We explain what to expect during the first year as everything settles naturally and when to contact us if issues arise.

A construction worker wearing a gray shirt and blue overalls stacks concrete blocks in a step-like formation. The worker is wearing protective gloves. In the background, additional stacked bricks and a partially visible stone wall can be seen. The image highlights careful masonry work and organization of materials at a construction site.
Most residential paver projects take 3-5 days depending on size and complexity. Weather can extend timelines since we won’t install pavers on wet base materials or during heavy rain. Larger projects like driveways may take a full week. We provide realistic timelines upfront and keep you updated if conditions change. The key is proper base preparation, which can’t be rushed regardless of schedule pressure.
Pavers can be individually replaced if damaged, while stamped concrete requires full section replacement. Pavers handle freeze-thaw cycles better because joints allow movement without cracking. Stamped concrete is initially less expensive but pavers typically last longer with less maintenance. Color stays consistent with pavers since it goes through the entire piece, not just surface treatment. Both options work, but pavers give you more flexibility long-term.
Quality pavers need minimal maintenance. Occasional sweeping and rinsing with water handles most cleaning. Joint sand may need topping off every few years as it naturally settles. Sealing is optional and depends on the paver type and your preferences. Some homeowners seal for enhanced color, others prefer natural weathering. Weeds between joints can be prevented with proper installation and occasional maintenance, not constant upkeep.
Most soil conditions work for pavers with proper base preparation. Clay soils need deeper excavation and better drainage solutions. Sandy soils drain well but may need additional compaction. We evaluate your specific site conditions during the initial consultation. Poor drainage areas require extra attention to prevent settling issues. The base preparation gets adjusted based on what we find, not a one-size-fits-all approach.
Individual pavers can be removed and replaced without affecting surrounding areas. This is a major advantage over concrete slabs. We recommend keeping a few extra pavers from your original order for future repairs. Most damage comes from settling due to poor base preparation, not the pavers themselves failing. Quality installation prevents most issues, but when repairs are needed, they’re straightforward and cost-effective.
Both cities have specific requirements for hardscaping projects, especially regarding drainage and setbacks. Permits may be required depending on project size and location. We handle permit applications and ensure compliance with local building codes. Some historic districts have additional restrictions on materials and designs. We’re familiar with local requirements and factor them into project planning from the start.