Pavers in Hingham, MA

Transform Your Outdoor Space Permanently

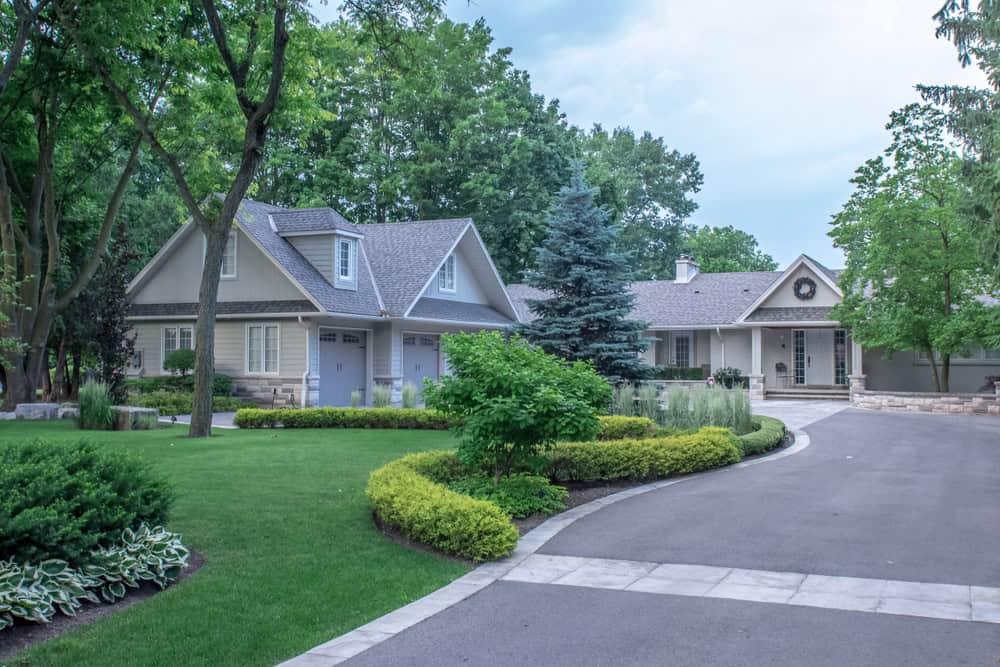
Professional paver installation that increases your property value while creating the outdoor living space you actually want to use.

A scenic suburban house surrounded by lush greenery, featuring a curved driveway in the foreground. The property has manicured lawns, shrubs, and trees. The house exterior is grayish with multiple gables and large windows, showcasing a well-maintained residential landscape.
A construction worker wearing a gray shirt and blue overalls stacks concrete blocks in a step-like formation. The worker is wearing protective gloves. In the background, additional stacked bricks and a partially visible stone wall can be seen. The image highlights careful masonry work and organization of materials at a construction site.

Professional Paving Installation Services

What You Get With Quality Pavers

Your cracked concrete headaches disappear. No more worrying about settling, staining, or that inevitable crack that splits your patio down the middle every few years.

You get an outdoor space that handles New England weather without breaking down. Freeze-thaw cycles that destroy concrete barely affect properly installed pavers. Individual stones can shift and settle without creating the structural problems you see with solid concrete slabs.

The drainage issues that create ice patches and standing water get solved during installation. Proper base preparation and joint sand allow water to move through the surface instead of pooling on top. Your patio becomes usable faster after storms, and you eliminate those dangerous ice spots that form when water has nowhere to go.

Hingham Paving Contractors

We Know What Works Here

We’ve been handling paving installation in Hingham and the South Shore for years. We understand how coastal weather affects outdoor surfaces and what it takes to build hardscaping that lasts in this environment.

Most paving problems come from shortcuts during installation, not material failure. We don’t skip the base preparation or use inadequate materials because we know you’ll call us back in three years when things start failing. Our reputation depends on projects that still look good a decade later.

We work with homeowners who want their investment protected. That means proper permits when required, detailed project planning, and installation methods that account for local soil conditions and drainage patterns.

A neatly arranged driveway made of grey pavers, featuring a central strip filled with white gravel and lined with green shrubs. Modern lamp posts are evenly spaced along the strip, guiding the way to a white garage door. The image highlights elegant landscaping design and careful paving work in a residential setting.

Paver Installation Process

How Your Project Actually Happens

We start with a site evaluation to understand your drainage patterns, soil conditions, and how the finished surface needs to function. This determines the base depth, material choices, and any drainage solutions we need to incorporate.

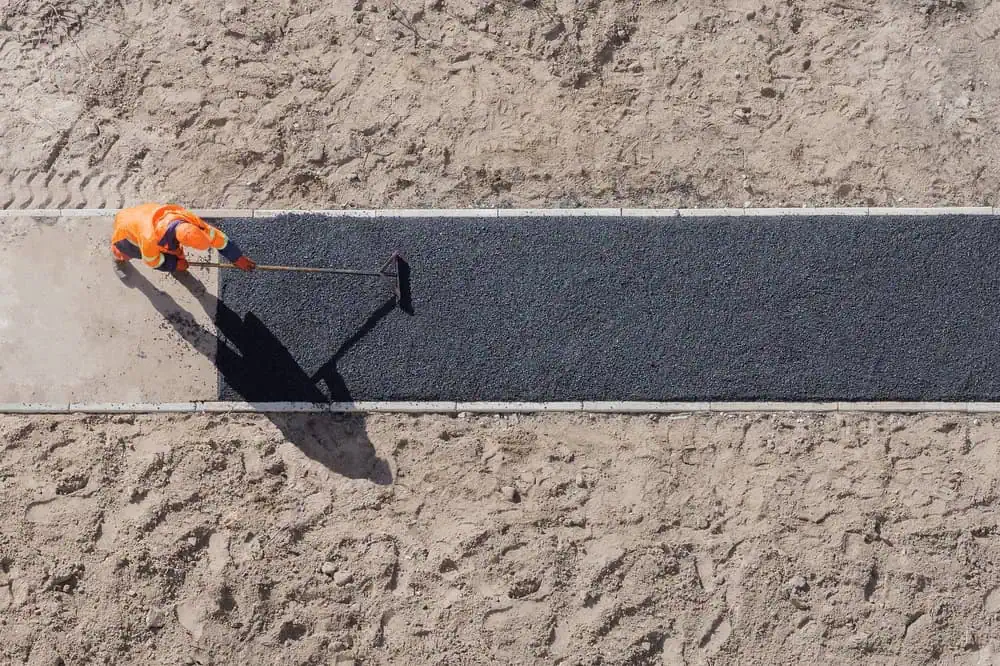
Excavation and base preparation take up most of the project timeline, but this is where quality gets built in. We remove the existing surface, grade for proper drainage, and install the aggregate base in lifts. Each layer gets compacted to specifications before the next goes down.

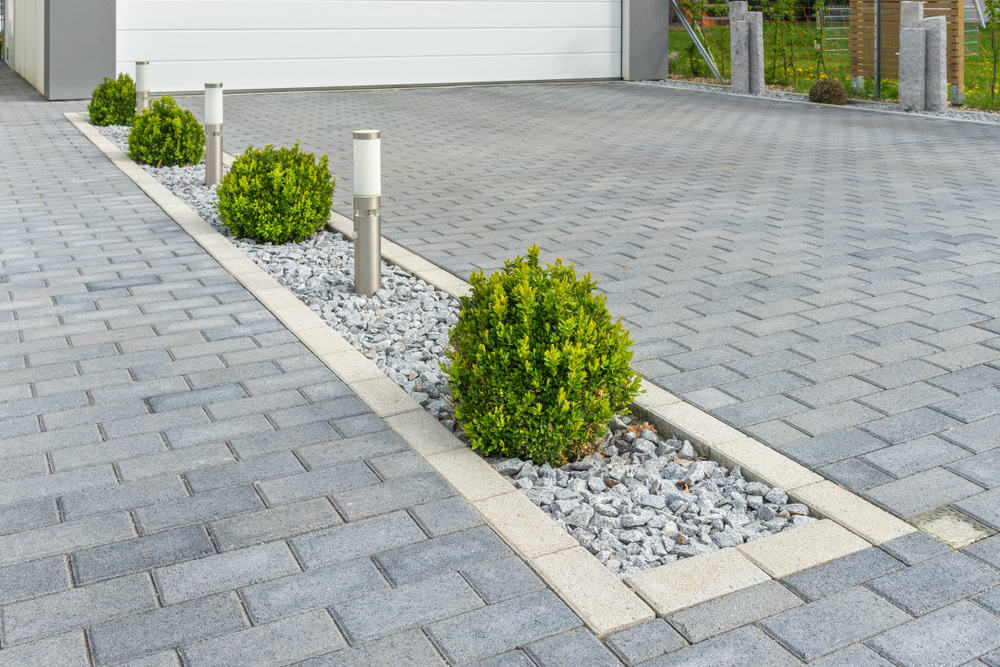
Paver installation happens relatively quickly once the base is right. We set edge restraints, place the bedding sand, install the pavers according to your chosen pattern, and complete the joint filling. You can walk on the surface immediately, and it’s ready for normal use within 24 hours.

A worker in an orange safety uniform is spreading asphalt on a path in a sandy area. They are using a tool to smooth the surface, with clear, defined borders of the freshly laid asphalt. Shadows fall across the path under the sunlight.

Ready to get started?

Explore More Services

About Academy Masonry and Construction

Get a Free Consultation

Patio Pavers and Driveway Options

What's Included In Your Installation

Every paving installation includes complete site preparation, proper base materials, edge restraints, and professional-grade joint sand. We don’t charge extra for basic drainage solutions or minor grade adjustments that are part of doing the job right.

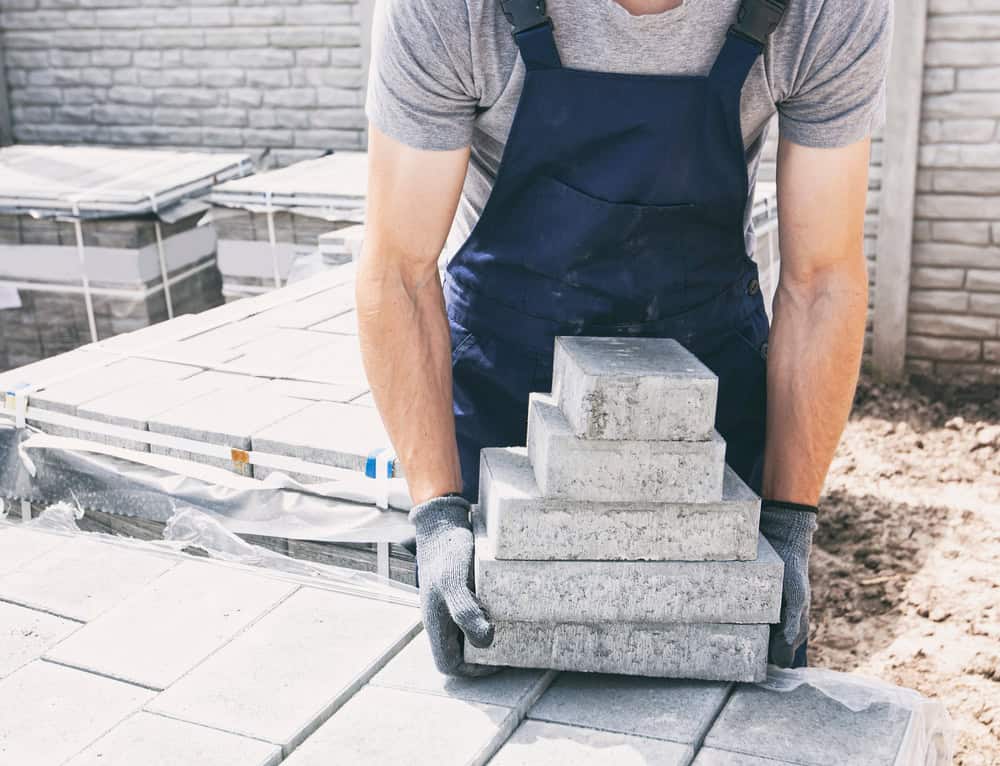
You choose from concrete pavers, natural stone, or brick paving depending on your budget and aesthetic preferences. We source materials from established suppliers and can show you samples from completed local projects so you know exactly what to expect.

Hingham’s coastal environment requires specific attention to salt air resistance and drainage. We account for these factors in material selection and installation methods. The finished surface needs to handle everything from summer entertaining to winter snow removal without deteriorating.

A construction worker wearing a gray shirt and blue overalls stacks concrete blocks in a step-like formation. The worker is wearing protective gloves. In the background, additional stacked bricks and a partially visible stone wall can be seen. The image highlights careful masonry work and organization of materials at a construction site.
Properly installed pavers typically last 25-30 years in coastal environments like Hingham, compared to 10-15 years for concrete. The key difference is how they handle movement and weather stress. Concrete cracks when the ground shifts or freezes, requiring complete replacement. Individual pavers can move slightly without structural damage, and if one gets damaged, you replace just that piece. Salt air affects the surface appearance over time, but doesn’t compromise the structural integrity like it does with concrete that develops cracks where salt water can penetrate.
The base preparation makes or breaks every paver project. Quality installation means proper excavation depth, correctly graded aggregate base installed in compacted lifts, and adequate edge restraints. Cheap installations skip these steps, leading to settling, shifting, and premature failure. You’ll also see differences in joint sand quality and whether proper drainage gets incorporated during installation. A quality job costs more upfront but eliminates the need for major repairs or complete replacement within a few years. Most homeowners who go cheap end up paying twice when they have to fix it properly later.
Pavers handle freeze-thaw much better than concrete because they’re designed to move independently. When ground freezes and expands, individual pavers can shift slightly without cracking. The joints between pavers allow for this movement and provide drainage paths for water that would otherwise freeze and cause damage. Concrete, being one solid surface, cracks when subjected to the same stresses. Proper base preparation is critical though – inadequate base materials or poor drainage will cause problems regardless of the surface material. That’s why the installation process matters as much as the pavers themselves.
Sometimes, but it depends on the condition and thickness of the existing concrete. If the concrete is level, structurally sound, and has good drainage, we can install pavers over it using a sand setting bed. However, if there are cracks, settling issues, or drainage problems, those will eventually affect the pavers too. In most cases, removing the old concrete and starting with proper base preparation gives better long-term results. We evaluate each situation individually because doing it right the first time costs less than fixing problems later when shortcuts don’t work out.
Pavers need minimal maintenance compared to other surfaces. Annual cleaning with a pressure washer or hose removes surface dirt and debris. Joint sand may need topping off every few years, especially in high-traffic areas. Sealing is optional and mainly affects appearance – it enhances color and provides some stain resistance, but isn’t necessary for structural integrity. If individual pavers get damaged or stained beyond cleaning, you can replace just those pieces without affecting the rest of the surface. Snow removal is easier than with concrete because there’s no risk of damage from salt or ice scrapers.
Paver installation typically costs $15-25 per square foot for basic concrete pavers, with natural stone and premium materials running higher. The total depends on site conditions, material choices, and project complexity. Extensive excavation, drainage solutions, or challenging access increase costs. However, when you factor in longevity and minimal maintenance requirements, the cost per year is often less than concrete that needs replacement every 10-15 years. We provide detailed written estimates that break down materials, labor, and any additional work needed so you understand exactly what you’re paying for.