Pavers in Everett, MA

Outdoor Spaces That Actually Last

Professional paver installation that handles New England weather and looks great for years.

A scenic suburban house surrounded by lush greenery, featuring a curved driveway in the foreground. The property has manicured lawns, shrubs, and trees. The house exterior is grayish with multiple gables and large windows, showcasing a well-maintained residential landscape.
A construction worker wearing a gray shirt and blue overalls stacks concrete blocks in a step-like formation. The worker is wearing protective gloves. In the background, additional stacked bricks and a partially visible stone wall can be seen. The image highlights careful masonry work and organization of materials at a construction site.

Professional Paving Installation Services

Your Backyard Becomes Useful Again

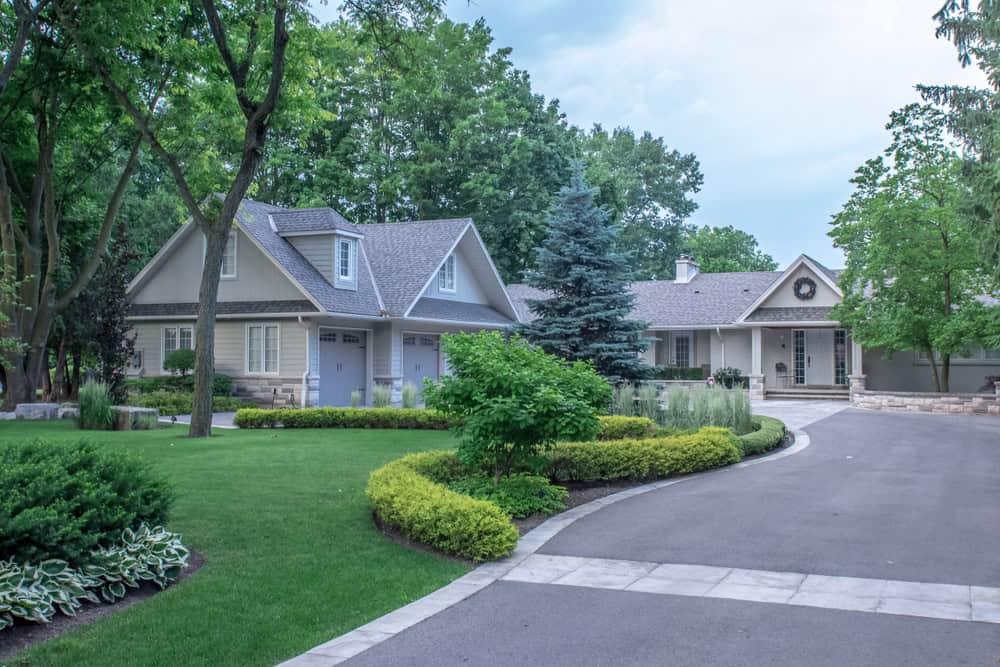
You know that cracked concrete patio that’s been bothering you? The one where water pools after every storm, and you’re embarrassed to have people over? That changes with properly installed pavers.

When we’re done, you’ll have an outdoor space you actually want to use. No more worrying about cracks spreading every winter. No more explaining to guests why half your patio is sinking.

Your new paver installation handles Massachusetts weather the way it should. Rain drains properly between the joints instead of pooling on the surface. Individual pavers can be replaced if damaged, unlike concrete that cracks and stays cracked. You get a space that works for entertaining, relaxing, or just enjoying your morning coffee outside.

Everett Paving Contractors

We Know Everett's Ground Conditions

Academy Masonry has been handling paving installation in Everett and surrounding areas for years. We understand how the local soil shifts with the seasons and what it takes to build a base that won’t settle or heave.

Most paving problems start with poor foundation work. We’ve seen too many beautiful paver patios ruined because someone skipped proper excavation or used the wrong base materials for our climate.

When you work with us, you’re getting contractors who know the difference between a job that looks good for six months and one that looks good for decades.

A neatly arranged driveway made of grey pavers, featuring a central strip filled with white gravel and lined with green shrubs. Modern lamp posts are evenly spaced along the strip, guiding the way to a white garage door. The image highlights elegant landscaping design and careful paving work in a residential setting.

Paver Installation Process

Here's How We Build It Right

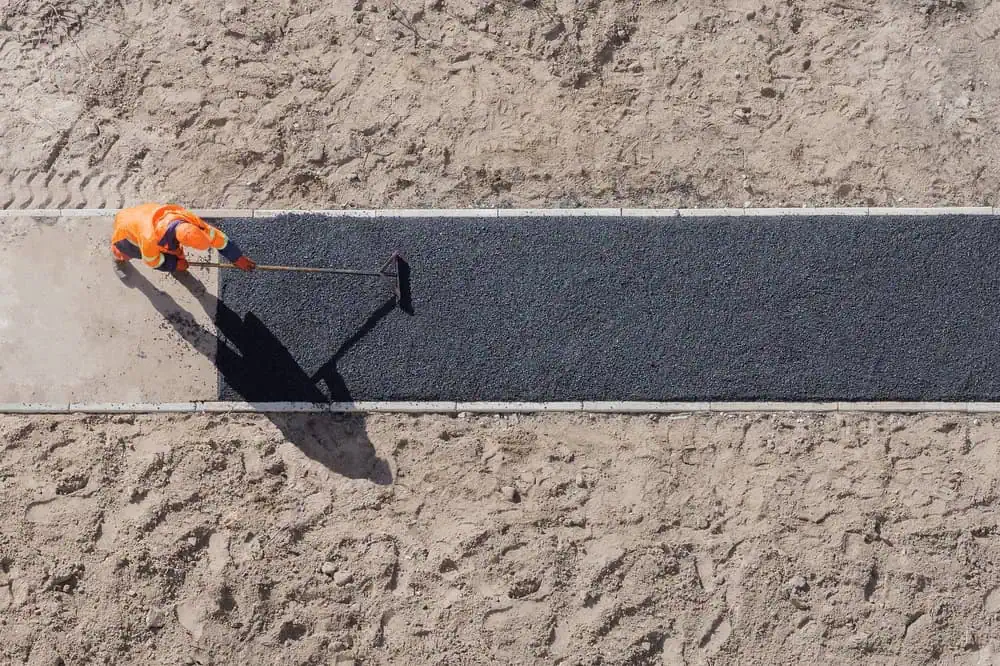
First, we excavate to the proper depth – usually 8-10 inches depending on your soil and intended use. This isn’t where you want to cut corners. We remove all organic material and anything that could shift or decompose over time.

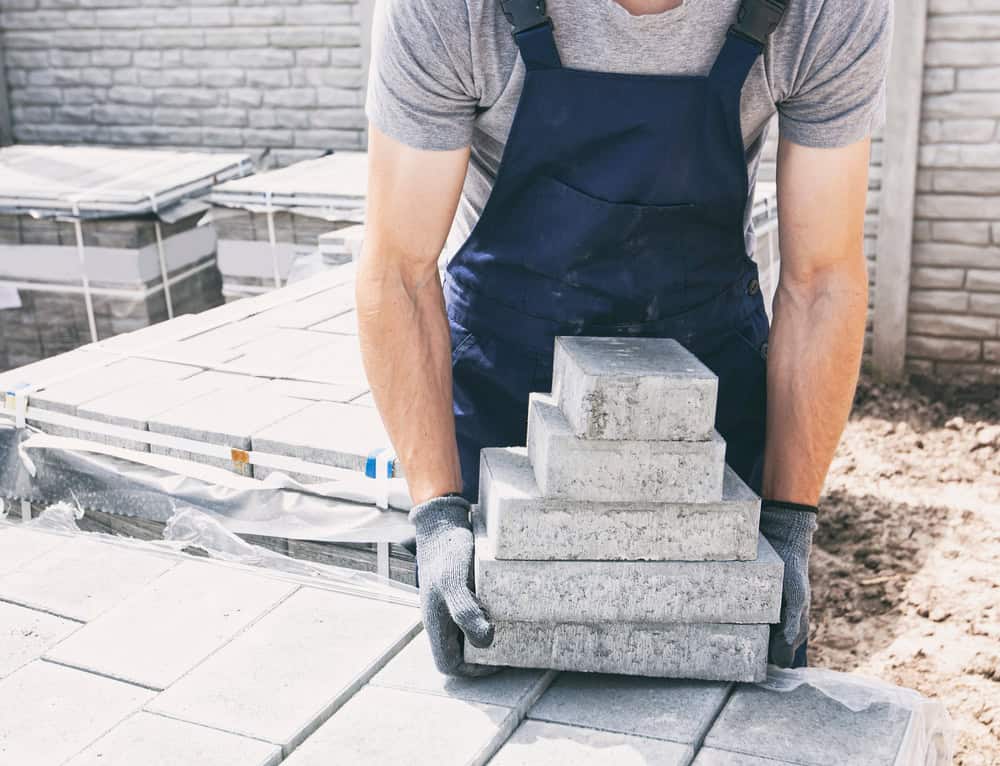
Next comes the base layer. We use crushed stone, properly graded and compacted in lifts. This is what keeps your pavers level and prevents settling. Then we add a leveling layer of sand, screed it perfectly flat, and begin laying your pavers according to the pattern you’ve chosen.

The final step is joint sand and compaction. We sweep polymeric sand into all joints, which hardens when activated with water. This locks everything in place and prevents weeds from growing between pavers. The whole surface gets a final compaction to ensure everything is solid and level.

A worker in an orange safety uniform is spreading asphalt on a path in a sandy area. They are using a tool to smooth the surface, with clear, defined borders of the freshly laid asphalt. Shadows fall across the path under the sunlight.

Ready to get started?

Explore More Services

About Academy Masonry and Construction

Get a Free Consultation

Patio Pavers and Installation

What You Get With Our Service

Your paving installation includes complete site preparation, proper base construction, and professional paver laying. We handle all excavation, base materials, sand leveling, and final compaction. You’re not paying extra for “surprises” we should have planned for from the start.

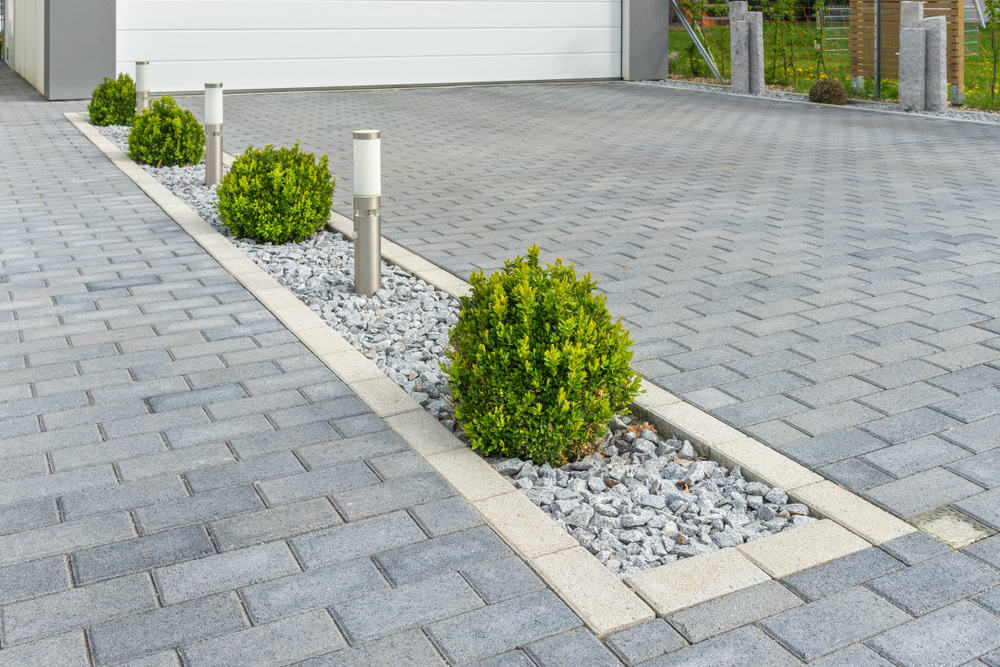
We work with quality paver suppliers who stock materials that actually hold up in Massachusetts weather. Concrete pavers, clay brick pavers, and natural stone options are all available depending on your preferences and budget.

Every installation includes proper edge restraints to prevent paver movement and spreading. We also ensure proper drainage slope so water moves away from your home and doesn’t pool on the surface. Your project comes with a warranty on both materials and installation workmanship.

A construction worker wearing a gray shirt and blue overalls stacks concrete blocks in a step-like formation. The worker is wearing protective gloves. In the background, additional stacked bricks and a partially visible stone wall can be seen. The image highlights careful masonry work and organization of materials at a construction site.
Properly installed pavers typically last 25-30 years in Massachusetts, significantly longer than poured concrete. The key difference is how they handle our freeze-thaw cycles. Concrete cracks when water freezes and expands inside it, and those cracks only get worse over time. Pavers have joints between them that allow for natural expansion and contraction. If an individual paver does get damaged, you can replace just that piece instead of tearing up the entire surface like you would with cracked concrete.
The foundation makes or breaks a paver project. Cheap installations skip proper excavation depth, use inadequate base materials, or don’t compact in proper lifts. You’ll see settling, shifting, and uneven surfaces within a year or two. Professional installation means excavating to the right depth for your soil conditions, using proper base materials, and compacting everything correctly. We also install proper edge restraints and ensure correct drainage slope. The pavers themselves might look the same initially, but the installation underneath determines whether your project lasts 3 years or 30 years.
Paver installation typically costs 20-40% more upfront than basic concrete, but the long-term value is better. When you factor in concrete replacement costs every 10-15 years due to cracking and settling, pavers often cost less over time. The exact price depends on the paver style you choose, site conditions, and project complexity. We provide detailed estimates that break down material and labor costs so you know exactly what you’re paying for. Most homeowners find the extra durability and appearance worth the initial investment.
Paver installation works best from late spring through fall when ground conditions are stable. We typically don’t install during winter months when the ground is frozen or when there’s risk of frost heave during the curing process. The ideal window is May through October, though we can sometimes work into November if weather cooperates. Spring installation gives you the full season to enjoy your new outdoor space. We recommend scheduling your project early in the season since good contractors book up quickly during peak months.
Weeds can grow between pavers if the installation isn’t done properly, but professional installation prevents most weed issues. We use polymeric sand in the joints, which hardens when activated with water and creates a barrier that weeds can’t penetrate easily. The key is proper base preparation and using the right joint sand. Cheap installations often use regular sand that washes out and allows weed growth. Even with polymeric sand, occasional maintenance like reapplying joint sand every few years keeps everything looking clean and prevents any vegetation from taking hold.
Properly installed pavers shouldn’t settle or shift significantly. When they do, it’s usually because of inadequate base preparation or poor drainage. That’s why we focus so much on the foundation work – proper excavation depth, quality base materials, and correct compaction. If you do see settling in a professionally installed paver surface, individual sections can be lifted and releveled without disturbing the entire area. This is one of the major advantages over concrete, where settling means breaking up and replacing large sections. Our installations come with warranty coverage that addresses any settling issues related to our workmanship.