Pavers in Ayer, MA

Patios Built to Last Decades

Professional paver installation that handles New England weather and looks great year after year.

A scenic suburban house surrounded by lush greenery, featuring a curved driveway in the foreground. The property has manicured lawns, shrubs, and trees. The house exterior is grayish with multiple gables and large windows, showcasing a well-maintained residential landscape.
A construction worker wearing a gray shirt and blue overalls stacks concrete blocks in a step-like formation. The worker is wearing protective gloves. In the background, additional stacked bricks and a partially visible stone wall can be seen. The image highlights careful masonry work and organization of materials at a construction site.

Paving Installation Ayer MA

Outdoor Spaces You'll Actually Use

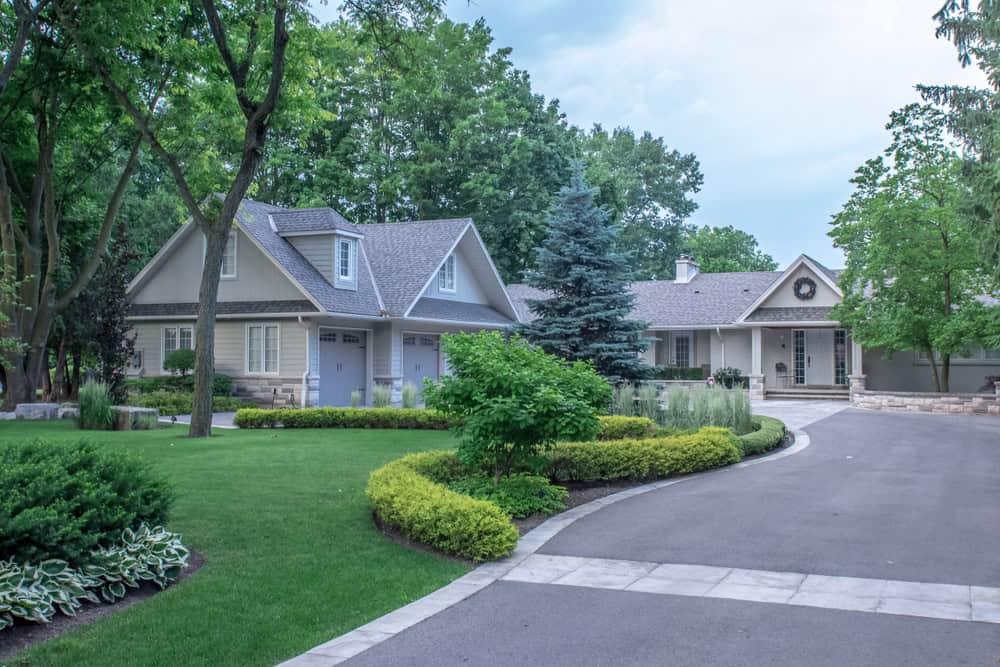
Your backyard becomes the place everyone wants to gather. No more looking at that cracked concrete patio or muddy patch where you always said you’d do something someday.

Properly installed pavers give you a level, attractive surface that drains well and stays put through freeze-thaw cycles. You get years of barbecues, morning coffee, and evening conversations without worrying about trip hazards or water pooling.

The right paving job means you stop making excuses about your outdoor space and start enjoying it. Your property value goes up, but more importantly, your quality of life does too.

Paving Contractor Ayer MA

We Know Central Massachusetts Soil

Academy Masonry has been handling paver installations throughout Ayer and Central Massachusetts for years. We understand the clay soil conditions here and how frost affects improperly prepared bases.

You won’t find us cutting corners on excavation or base preparation. We’ve seen too many beautiful paver jobs fail because someone skipped the foundation work that matters in this climate.

Our team knows local building requirements and works with the best material suppliers in the area. When we finish your project, it’s built to handle whatever New England weather throws at it.

A neatly arranged driveway made of grey pavers, featuring a central strip filled with white gravel and lined with green shrubs. Modern lamp posts are evenly spaced along the strip, guiding the way to a white garage door. The image highlights elegant landscaping design and careful paving work in a residential setting.

Brick Paving Process Ayer

No Surprises, No Shortcuts

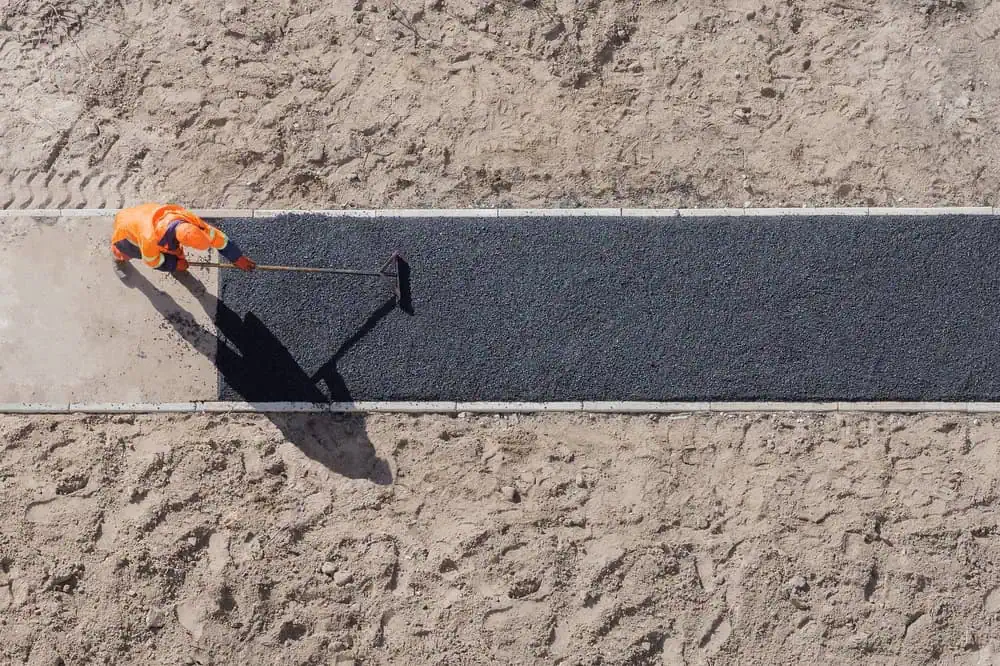
We start with proper excavation – typically 8-12 inches depending on your soil and intended use. This isn’t where you want someone guessing or trying to save a few dollars.

Next comes the base layer of crushed stone, properly graded and compacted. This is what keeps your pavers level and prevents settling. We use a plate compactor, not just hand tamping, because the base determines everything.

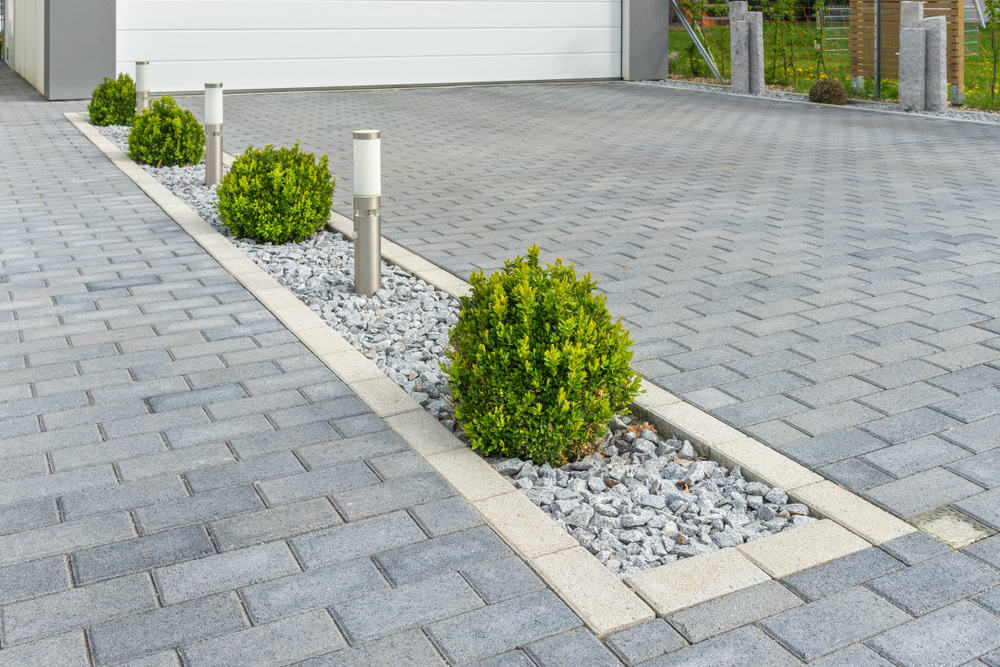
Paver installation follows with proper edge restraints and joint sand. We sweep and compact multiple times to lock everything in place. The final step is sealing if you choose it, which protects against stains and enhances color.

A worker in an orange safety uniform is spreading asphalt on a path in a sandy area. They are using a tool to smooth the surface, with clear, defined borders of the freshly laid asphalt. Shadows fall across the path under the sunlight.

Ready to get started?

Explore More Services

About Academy Masonry and Construction

Get a Free Consultation

Brick Patio Contractors Ayer

What's Included in Every Job

Every paver installation includes proper excavation, engineered base preparation, and professional-grade materials. We handle permits when required and work around your landscape features whenever possible.

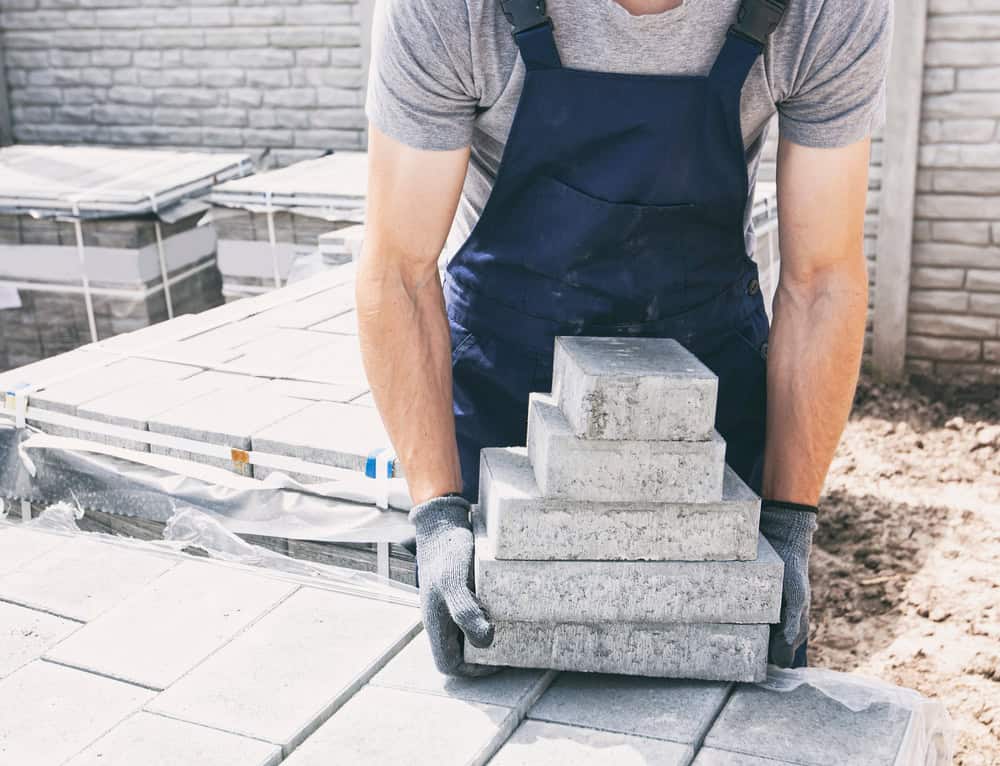
You get a variety of paver options – concrete, clay brick, or natural stone – in multiple colors and patterns. We’ll show you samples and help you choose what works best for your home’s style and your budget.

Cleanup is part of the job, not an extra charge. We haul away excavated material and leave your property neat. Most residential patio projects take 2-4 days depending on size and complexity, and we’ll give you a realistic timeline upfront.

A construction worker wearing a gray shirt and blue overalls stacks concrete blocks in a step-like formation. The worker is wearing protective gloves. In the background, additional stacked bricks and a partially visible stone wall can be seen. The image highlights careful masonry work and organization of materials at a construction site.
Properly installed pavers typically last 25-30 years or more in Massachusetts. The key is correct base preparation and using pavers rated for freeze-thaw cycles. Concrete pavers and clay brick both handle our winters well when the foundation is right. You might need to replace individual pavers if they get damaged, but the overall installation should remain stable for decades. Cheap installations with inadequate bases start showing problems within 3-5 years, which is why proper excavation and base work matter so much here.
Pavers are individual units that can move slightly with ground movement, while stamped concrete is one solid slab that cracks when the ground shifts. In Massachusetts, ground movement from frost is inevitable, so pavers handle it better. If a paver gets damaged, you replace just that piece. If stamped concrete cracks, you’re looking at major repair work. Pavers also offer more design flexibility and can be removed if you need to access utilities underneath. The upfront cost is higher, but the long-term durability usually makes pavers the better investment.
Paver installation typically runs $15-25 per square foot for most residential projects in the Ayer area, depending on the paver type and site conditions. A standard 12×16 patio runs roughly $3,000-5,000 including materials and labor. Factors that affect cost include excavation difficulty, drainage requirements, paver selection, and access to your backyard. We provide detailed estimates that break down materials, labor, and any extras like steps or retaining walls. Beware of significantly lower bids – they usually mean shortcuts on base preparation that cost you more later.
Pavers can be installed in fall as long as the ground isn’t frozen and we’re not expecting a hard freeze immediately after installation. Fall installation actually has some advantages – contractors are less busy, so scheduling is easier, and you’re ready to enjoy your space as soon as spring arrives. The main consideration is allowing enough time for the base to settle before winter. We typically recommend completing paver projects by mid-November in this area. Spring installation works too, but expect longer wait times as everyone wants their projects done once the weather breaks.
Sealing isn’t required but it’s recommended for most paver installations. Sealer protects against oil stains, makes cleaning easier, and enhances the color of your pavers. It also helps prevent weeds from growing in the joints and keeps joint sand from washing out during heavy rains. We typically recommend waiting 30-60 days after installation before sealing to let everything fully settle. Quality sealer lasts 2-3 years before needing reapplication. Some homeowners skip sealing to maintain a more natural look, which is fine – your pavers won’t fail without it, but maintenance will be more involved.
Minor settling is normal and easily fixed by lifting the affected pavers, adding base material, and reinstalling them. This is one of the major advantages of pavers over solid concrete – individual repairs are possible. Significant settling usually indicates base preparation issues, which is why we focus so much on proper excavation and compaction upfront. With correct installation, you might need to reset a few pavers every 10-15 years, typically along edges where water runoff is heaviest. We warranty our base work because we know proper preparation prevents most settling problems that plague cheaper installations.